Whenever I want to take pictures of my miniatures I use these two boxes: one with wallpaper and a simple wooden pattern on the floor and one with a garden theme. They are easy in use because I can take the anywhere I want to catch the best natural light and using the boxes enabled me to arrange the miniatures in little scenes...
A few days ago I was in the garden with the boxes to take photographs and then it suddenly hit me...I wanted something different, something prettier, something shabby chic; a new photobox!
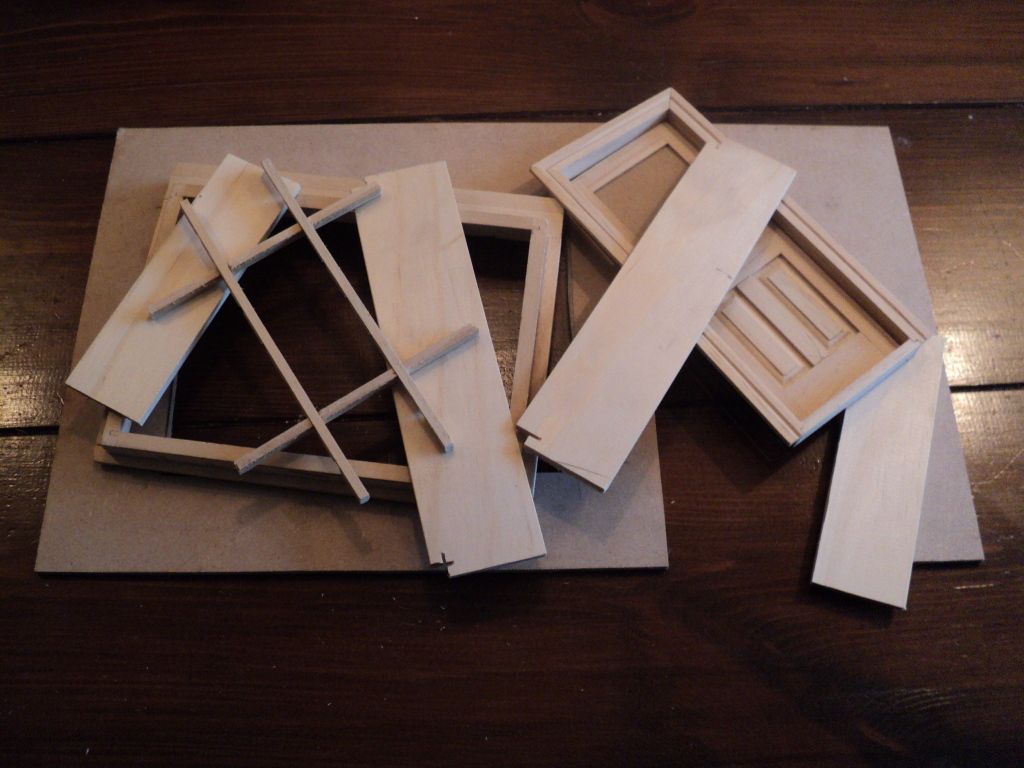
So out came the wood, the cardboard, the paint, the tools and I couldn't wait to bring the idea to life. Why not make a miniature shop as photobox?
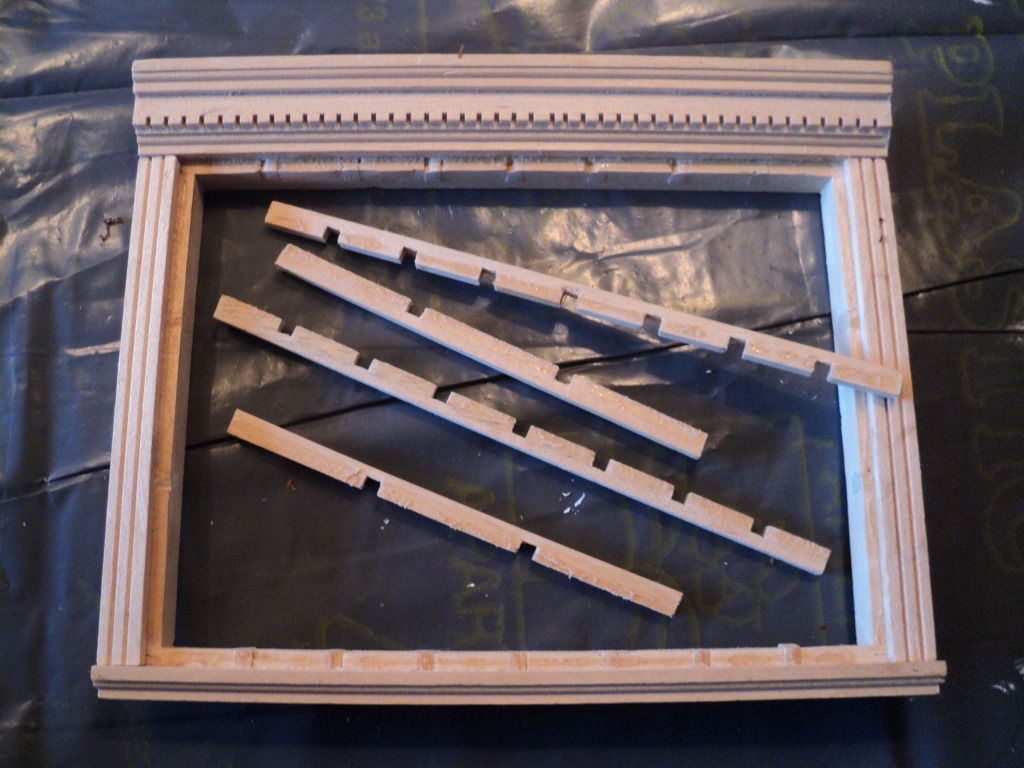
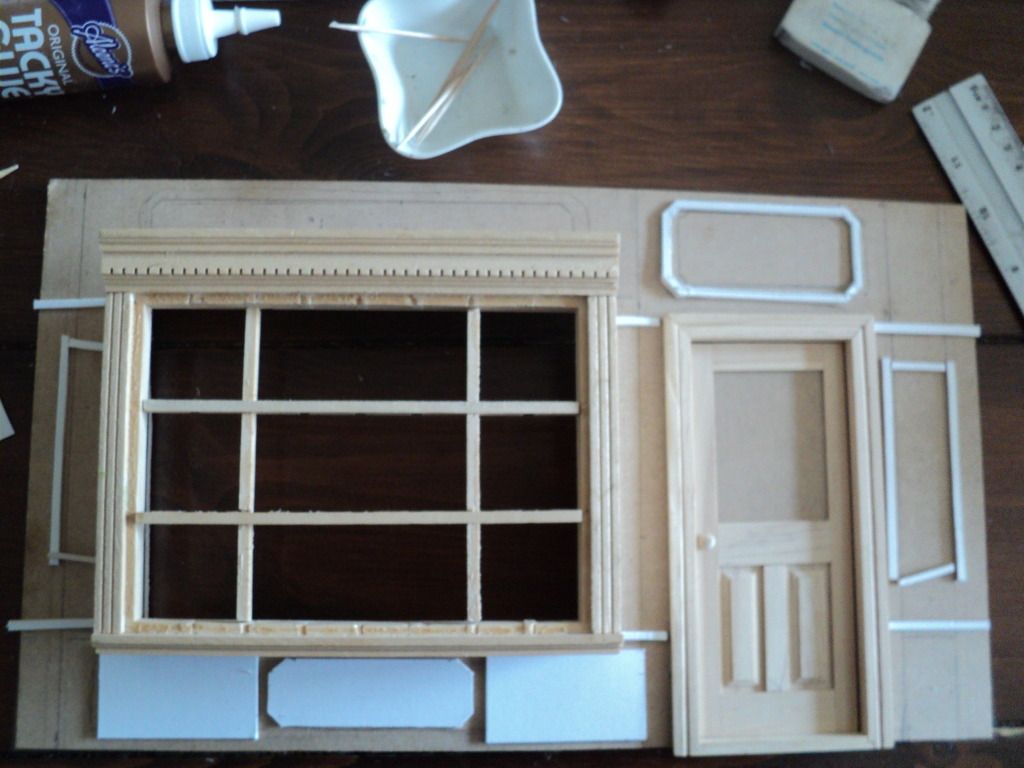
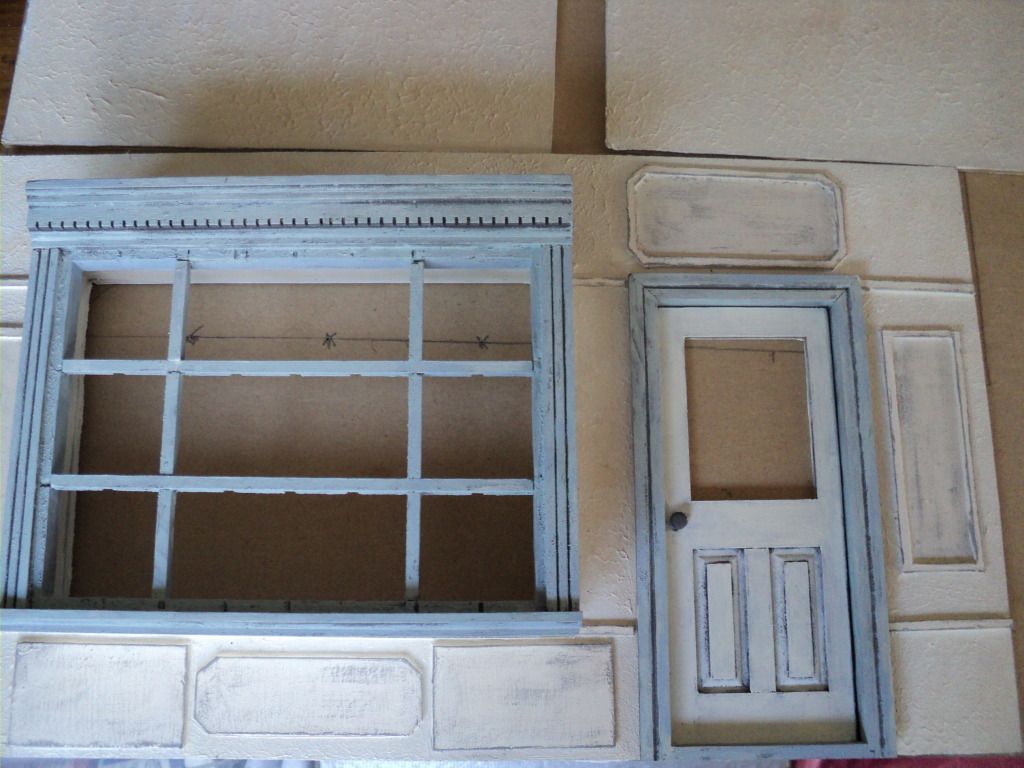
A shop needs a huge window to display the merchandise so I used all kinds of leftover wooden bits and pieces to create one.
A shop with a vintage French look was the idea that stuck in my mind. I decided to decorate the front of the shop with cardboard.
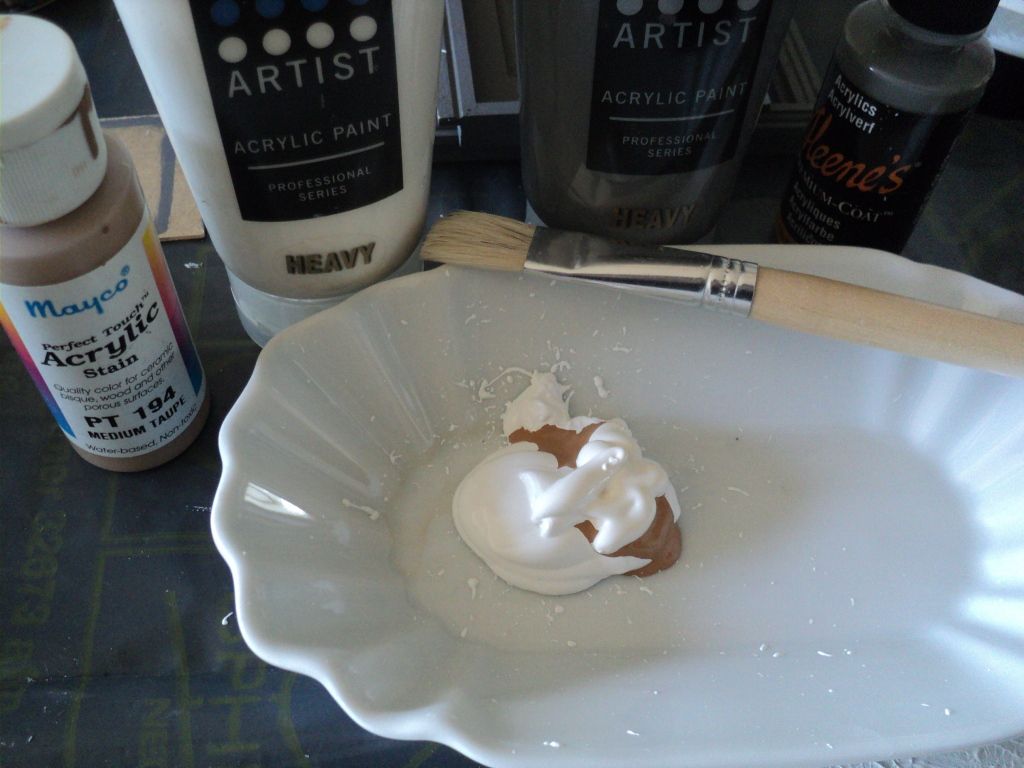
As primer I used Gesso
I decided on egg-white paint with a drop of medium taupe for the wall, I didn't mix the paints thoroughly because I wanted different shades on the wall.
I chose softblue and egg-white paint for the window and door. For the door and window I used grey paint as undercoat.
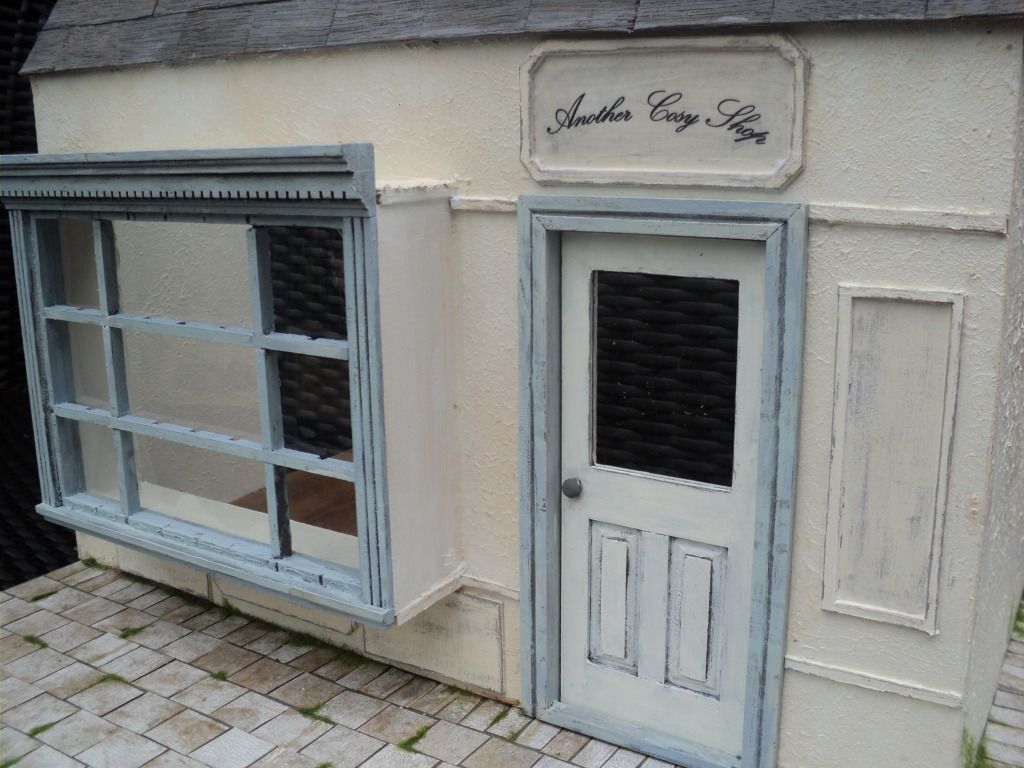
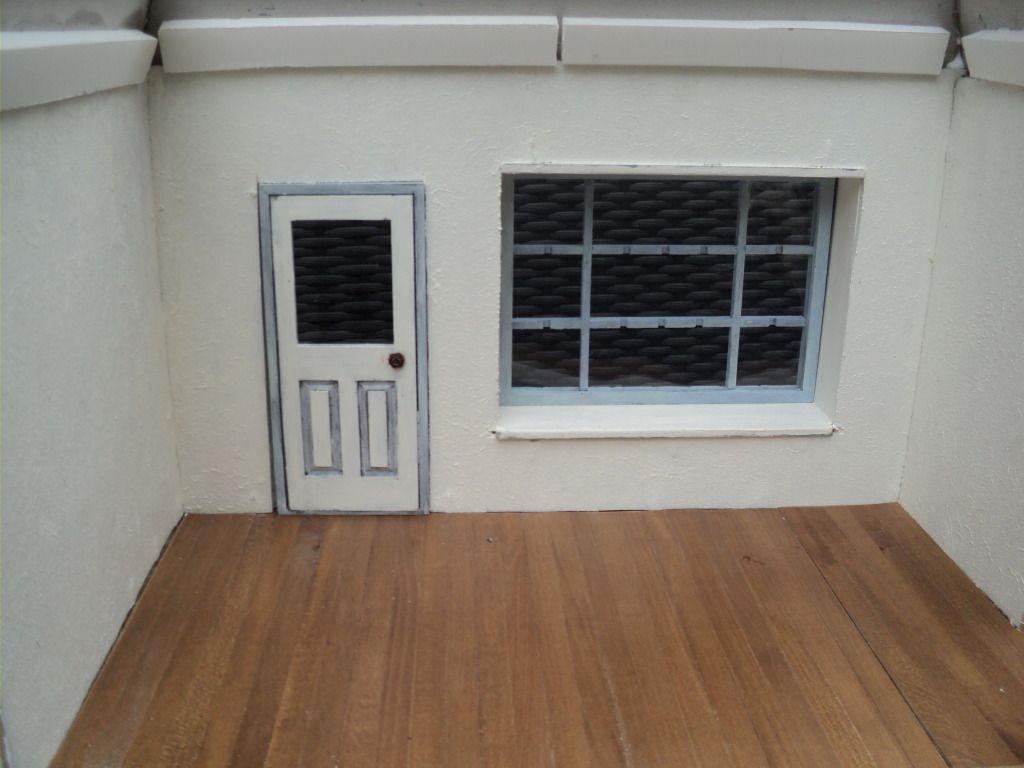
And this is the result after the paintjob: the front of the shop with the window and door and two side walls.
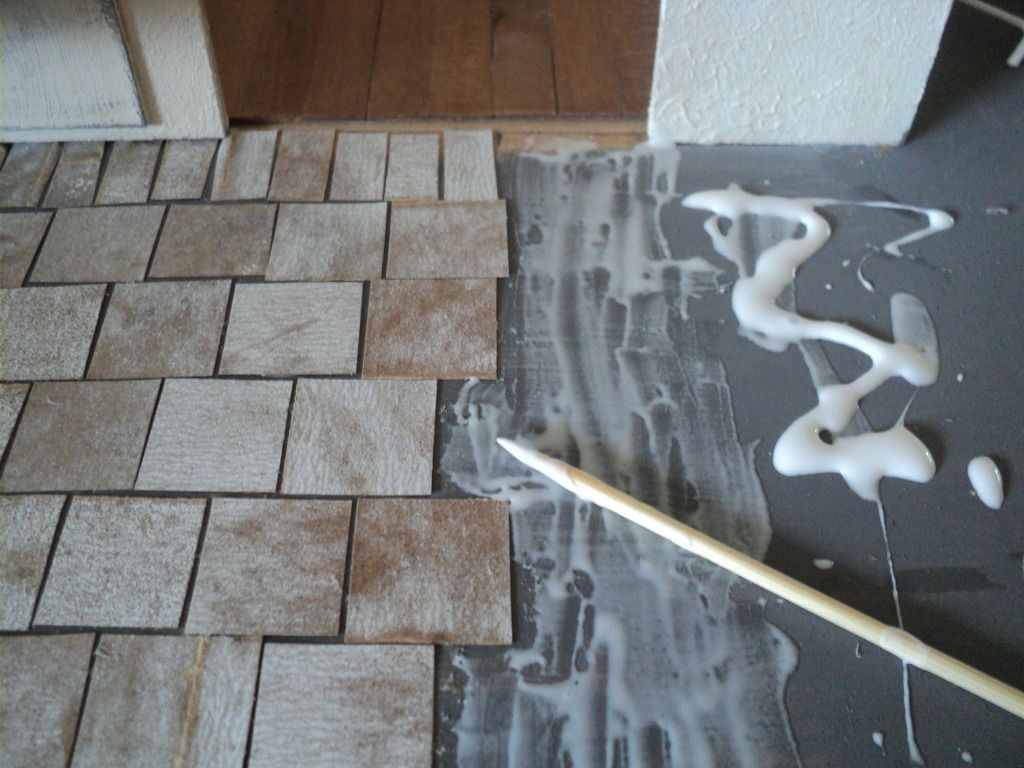
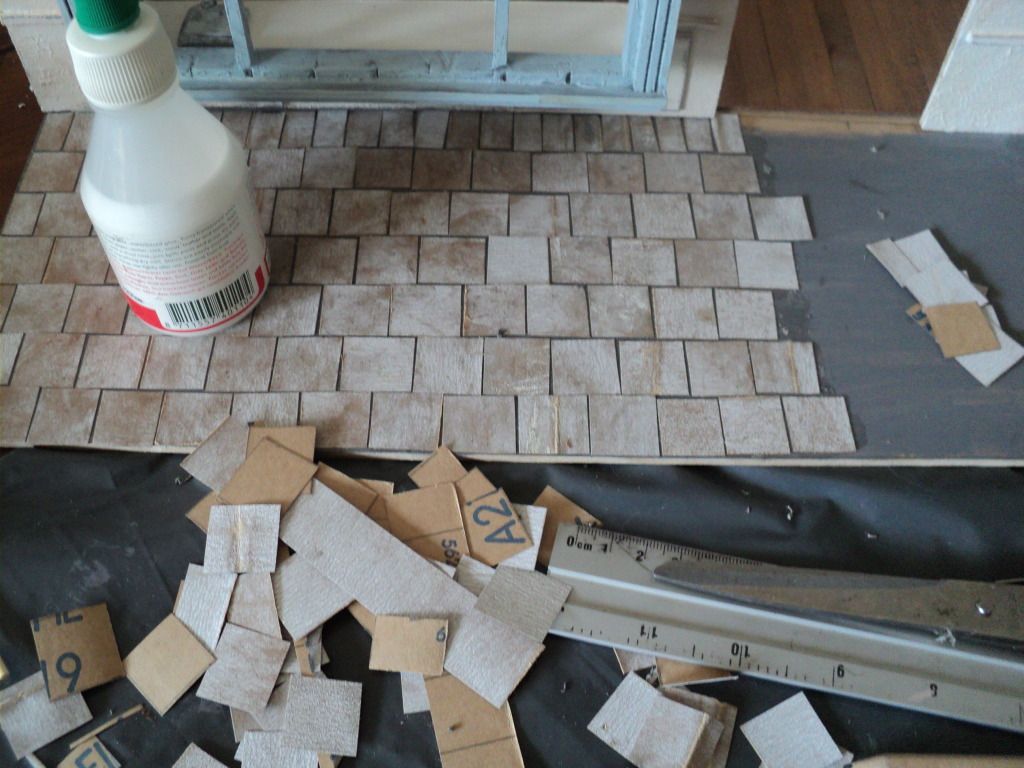
After attaching the walls to the base I painted the outside floor grey.
I found used sandpaper that was perfect for floor tiles so I cut the sandpaper in little squares and glued those on the outside floor.
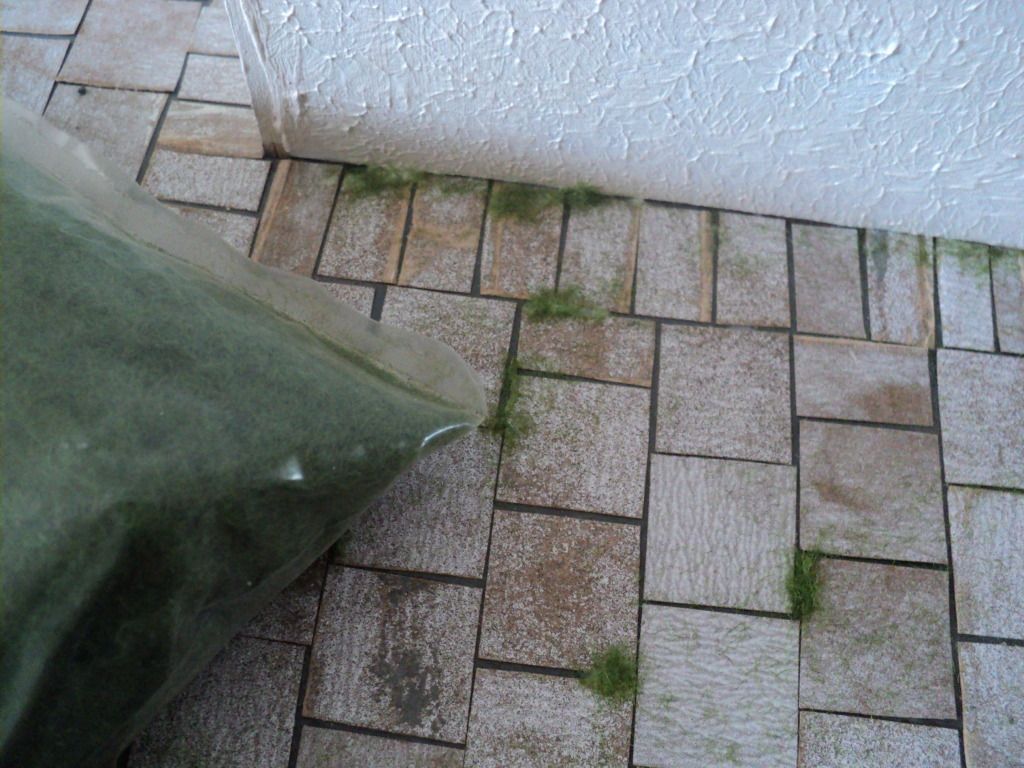
As finishing touch I used green flower soft as grass peeping through the tiles.
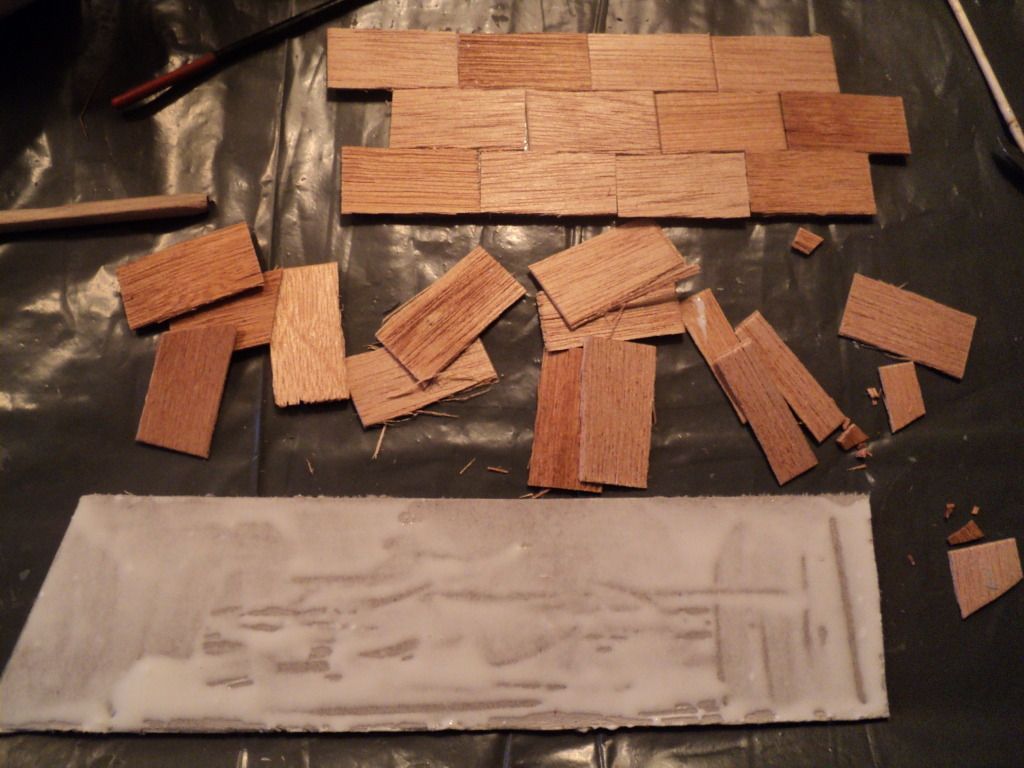
Because I was going to use this project as a photobox I didn't want a roof on it. Instead I cut out a strip of cardboard and found some cheap thin wood I had lying around. I cut rectangles out of the wood and glued that on the cardboard. After drying I painted the rooftiles grey and glued the cardboard on top of the walls.
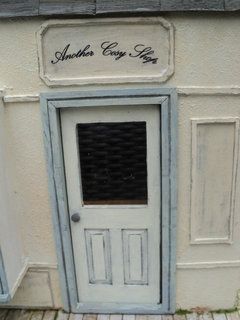
I made a decal with the name of the shop and pasted that above the front door.
And here it is...my new photobox!
The whole project only took 3 days and I'm so pleased with the result. I can't wait to fill it up and start making pictures again.
Have a great day!
Peggy