zondag 27 november 2011

And the winner is.....

Thank you all so much for entering my give-away! Today was an exciting day for Fifi, she could hardly wait to find out where she was going to live. Impatiently she waited for all the names to be put in a bowl and for my son to draw the lucky winner. He took his time by the way, knowing it was a very responsable job.
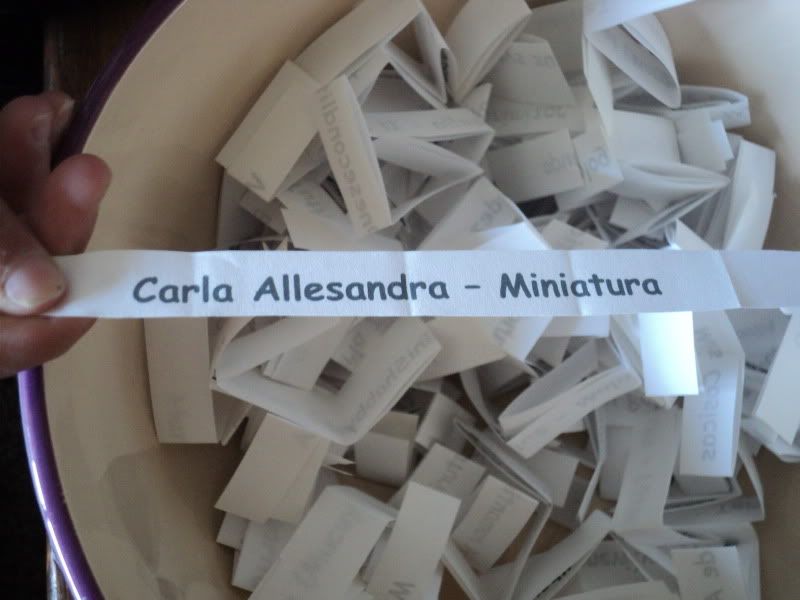
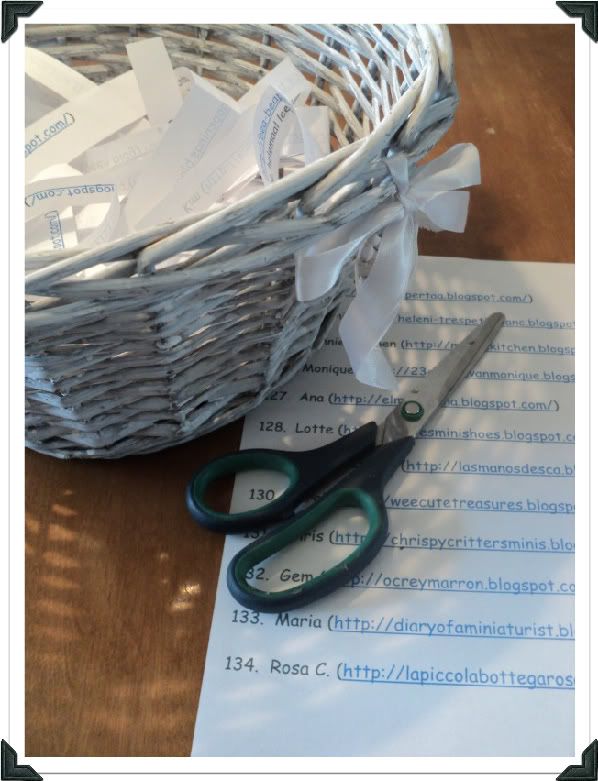
All the names together...

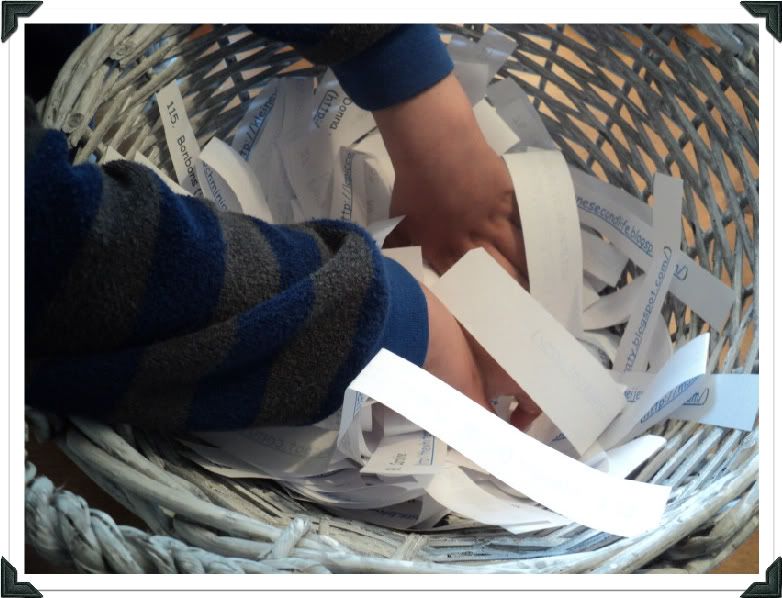
...waiting in a bowl
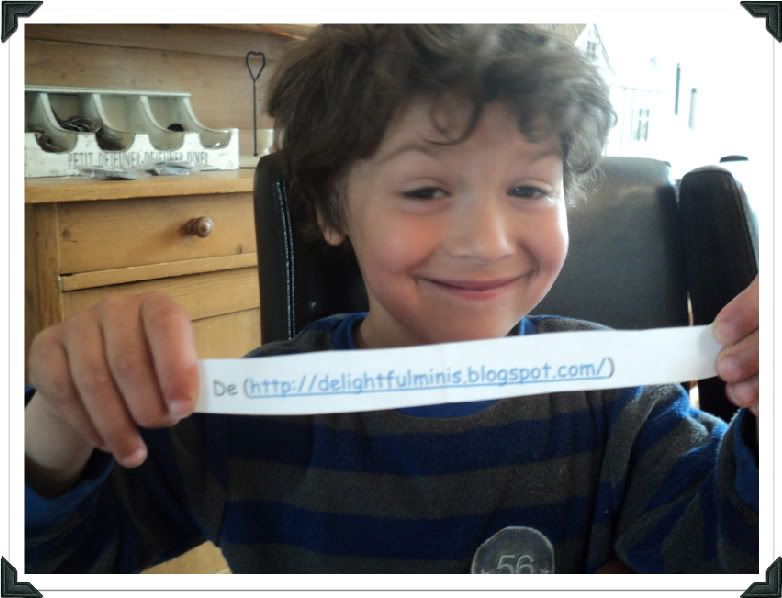
There he is....look at the serious look on his face!

Fifi goes to Carla Allesandra of Miniatura!!
Congratulations to you Carla Allesandra! Please contact me to give me your address so I can send Fifi on her way.


Fifi is going to live in Brasil, what a lucky little dog. That is...as soon as I can part her from my son...
Have a great day everyone and thanks again!!

donderdag 3 november 2011

Mom *gasp* ...There's a hedgehog in the microwave!!!


I've been making hedgehogs today and decided to make some pictures along the way to show you how.

First of all you'll need: fimoclay (brown, ocre and black), craftknife, clay gun (mine is from Artwork) but you could use a garlic press, tweezers, bowl, water, microwave.


Make a ball out of brown fimoclay, press it down on your worktop to get a flat bottom. Mold it into a yellybean shape. With the craftknife cut off the edge of one of the sides. Now you have the body of your hedgehog. Don't make the body to big, it will become much bigger after you've put spikes on it.
Make a smaller ball out of ocre fimoclay, form a yellybean shape and cut that in half. This will be the head of the hedgehog
Put the two pieces together and there you have a nude hedgehog!

For the spikes put some brown fimoclay through your claygun or garlic press.

Cut the strings of clay into tiny pieces

Pick up the little strips of clay with your tweezers and push them into the body of your hedgehog. Start at the back. Try not touching the clay with your fingers because the spikes will flatten.
Halfway through....yes, it's looking more like a hedgehog already!
Done..one spikey hedgehog
For the eyes and nose take some black fimoclay and make two tiny balls. Cut one of the balls in half; those are the eyes. The other ball is the nose.

You can bake your hedgehog in the oven but I prefer microwaving. There is some controversy whether fimoclay is safe to be put in the microwave. Until now I never had problems using the following method:
Put the hedgehog in a microwave suitable bowl and cover it with plain tapwater (use enough water to totally submerge your hedgehog). If you put it straight into the microwave the fimoclay will burn!
Cover the bowl with microwave foil.
Put the bowl into the microwave and heat for 3 minutes. The water will start boiling so do be careful to take it out, the bowl will be hot!
Take the hedgehog out of the bowl with a spoon, you'll notice the fimocolours somewhat fade. Let cool.
Higlight the colors with acrylic paint. Brighten up the eyes and nose with some varnish.
Done!


Don't forget to take the miniatures out of the microwave as I sometimes do. One of the kids, wanting to use the microwave himself,  came in rolling his eyes exclaiming...Mom! There's a hedgehog in the microwave!!!

Have a great day :o)

maandag 31 oktober 2011

Naughty Boris!

I made myself a little dog too....a tiny mischief I named Boris. He's totally the opposite of Fifi, she's rather posh and cuddly, he always puts himself in trouble.

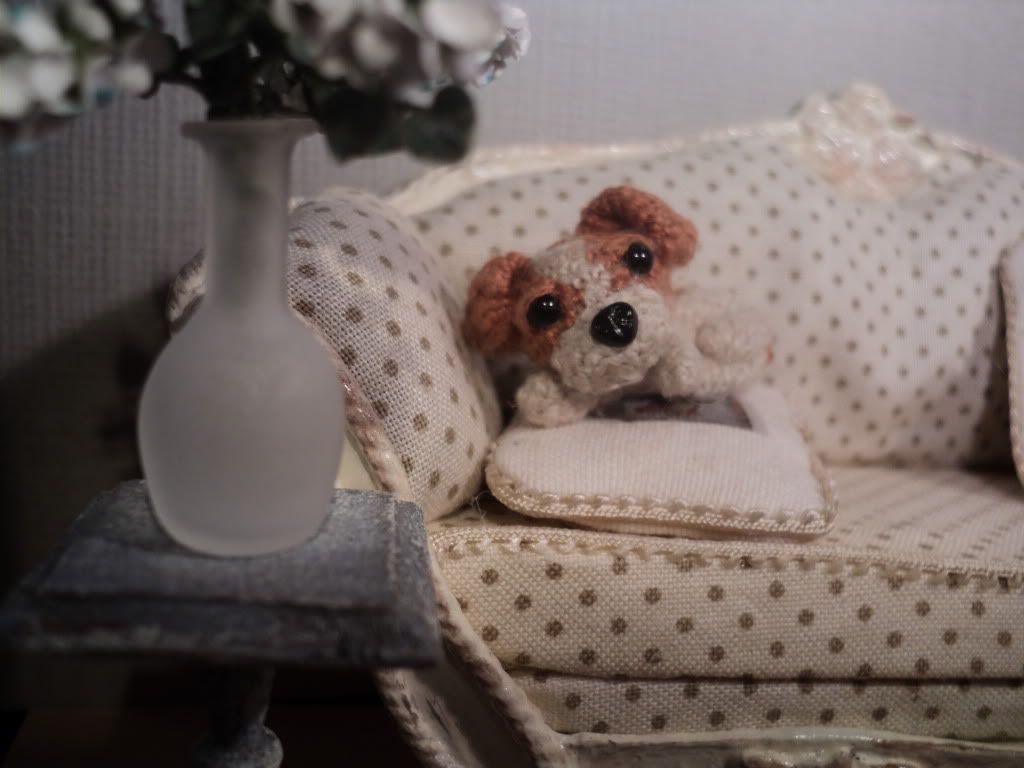
I love pets but I do have rules! One of them is 'NOT ON THE COUCH' because I hate those doghairs everywhere and having no place to sit myself. Ofcourse the same rules apply to the dollhouse but look what happened this morning...I caught him in the act!


I was about to scold him but then he looked at me with those puppy eyes and I just melted. What to do? Instead of punishing I just gave him a huge hug and realised his hairs are so tiny it won't make much difference anyways.


Be honest..could you resist that look?
By the way...I have it from reliable source (Boris) that Fifi tends to sneakily find the best seat in the house too. Just a little warning for her next owner!

Fifi wants to be adopted

Wow...have I been busy lately! Time really flies. I've been making loads of miniatures because...drumroll...I'm opening an official webshop! It would be great if you stopped by to say hello, the link is  http://www.anothercosyshop.nl
I'm still filling the shop with items and having loads of fun doing it.


I did keep up with reading all of your blogs, what great creations I've seen, so much talent out there. Quite amazing!
And ofcourse I noticed I have  350 !!! followers, isn't that absolutely incredable?


To celebrate this I made something for you to give away and I really like you to meet:
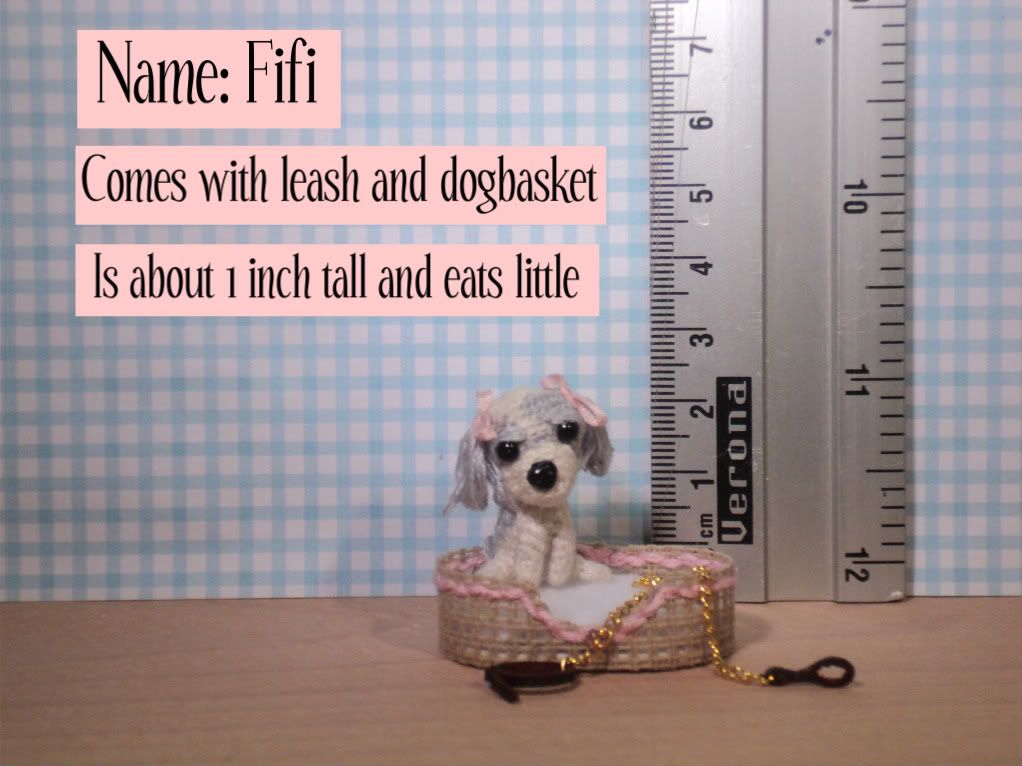
FIFI


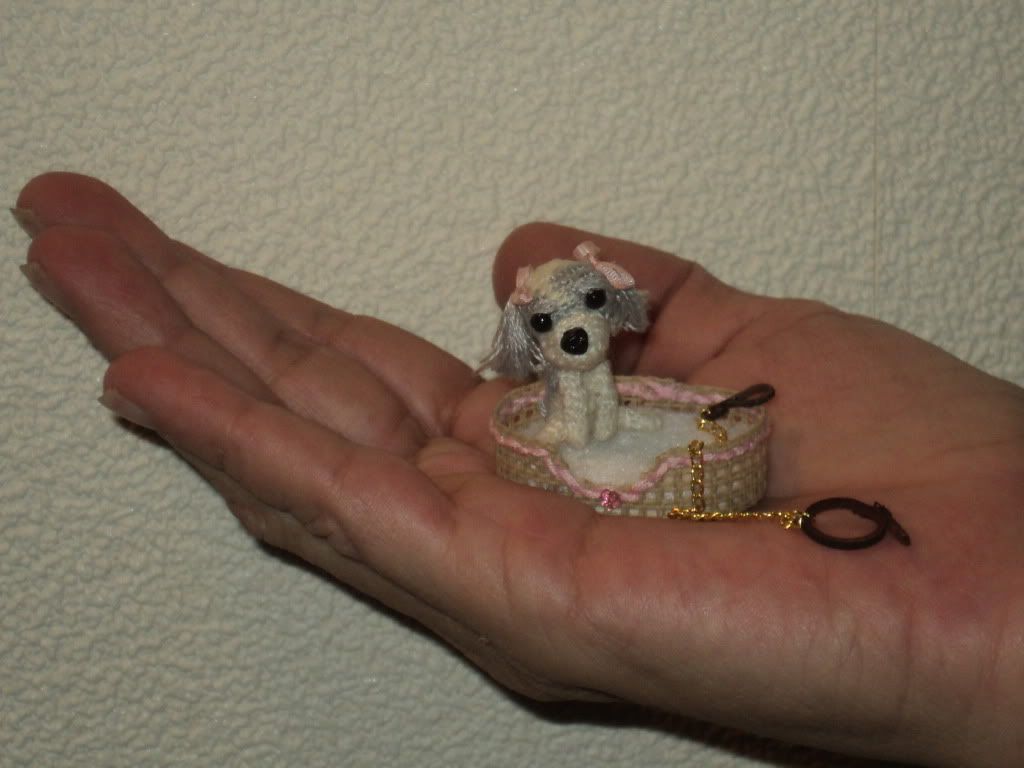
Fifi is a tiny handmade dog and is looking for a home. She's a real girly girly dog with pink bows. She likes to cuddle and  play with a ball.
 
 
The dogbasket and leash are also handmade and she won't go anywhere without them!
 
 
Would you please give her a home? If you do, please make sure to:

- Be a follower of this blog.
- Leave a comment beneath this post.
- Keep your fingers crossed till sunday 27th november when the draw will be held.
- Posting a link on your blog would be appreciated, in fact your name will be put in twice for the draw (please mention you've linked the give-away on your blog).


Good luck everyone!

woensdag 7 september 2011

In a creating mood

Sometimes I feel a little like Speedy Gonzales...so many ideas, so much energy, so many things I want to make!
Look what came out of my hands the last few days:

Most of the items are for sale in my shop where you can see the miniatures in more detail.
Going to grab a cup of coffee and back to the glue, paper and tools...gosh...what a great feeling!
Have a great day!


maandag 5 september 2011

Oh my...not another one!


I did it! After a long time aking myself if I should because there are so many who did it already and why would anybody be interested if I did it too and am I any good at it or will it be a huge failure.... I finally made up my mind. Yes! I will have a go at it, why not?
Ohw..you might wonder whatever I'm rambling about here. Well...I've opened my own tiny webshop! I know...another one in the wonderful world of miniature shopping. It would be great if you took a peek and let me know what you think of it.

http://anothercosyshop.blogspot.com/


woensdag 24 augustus 2011

Time flies

Hi everyone! As you can see I'm back after months of absence. I don't even have a great excuse to explain why I haven't made any blog entries for such a long time. I've just been busy...extremely busy. Too much to do in too little time has been my motto lately.

However, I did find time  to read up on your blogs. What a source of inspiration it gave me, my joy in the miniature world is back!
Where is the balsa wood, paper and tacky glue? Let's start with dusting my tools and workspace...I want to MAKE something tiny!

A sincere 'thank you' to all of you!

zondag 17 april 2011

Give (far) away

Who's the lucky one? Where will the give away go to?
First I added a few new names to the basket where everyone was waiting patiently...

My youngest son asked if he could do the drawing and he took his job very seriously. He stirred the names for about 10 minutes until  he was finally ready to choose one.

The winner is:

Congratulations De!!!!!!!!!!!!!!
These mini's will be on your way soon.


donderdag 14 april 2011

Just wow!

Sometimes I can't believe my luck. A few days ago I was cruising through blog land and became a follower of  Sjoukje. She's been into dollhouses and miniatures for some time but just started her blog http://maisondupompier.blogspot.com/ 
I was amazed at the tiny creations she made. After a week of blogging she had 3 followers and wanted to give us something for following her. Now...how great is that?

Look what the mailman delivered just one hour ago!

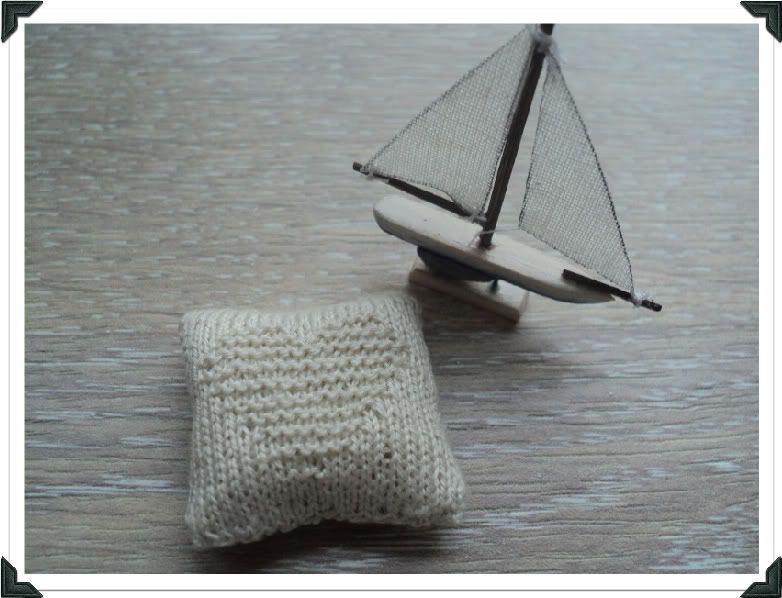
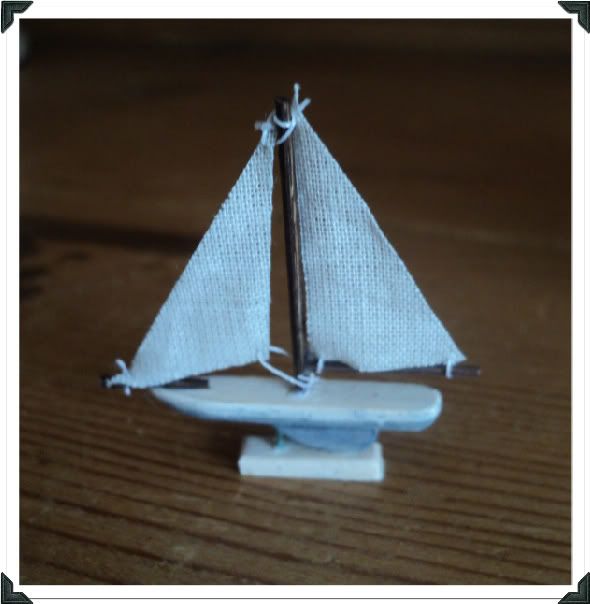
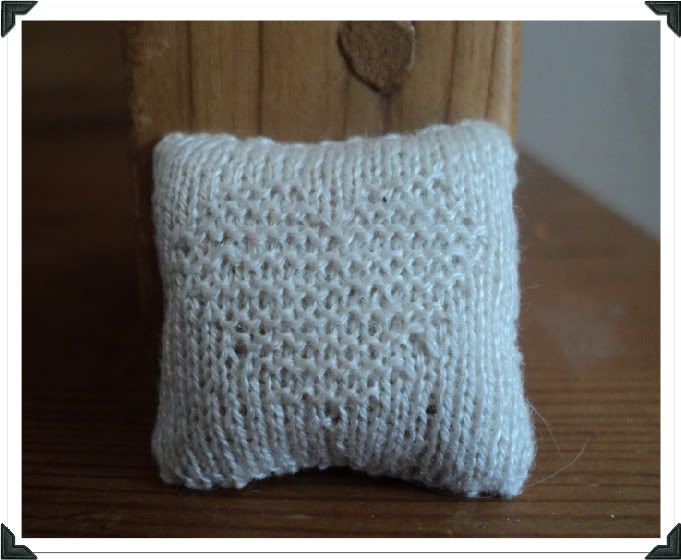
A fantastic sailboat and an amazing little pillow

Another look at the sailboat, it's just perfect. So tiny and detailed!

The pillow has this cute heart in the middle and is soooooo shabby chic, I love it!

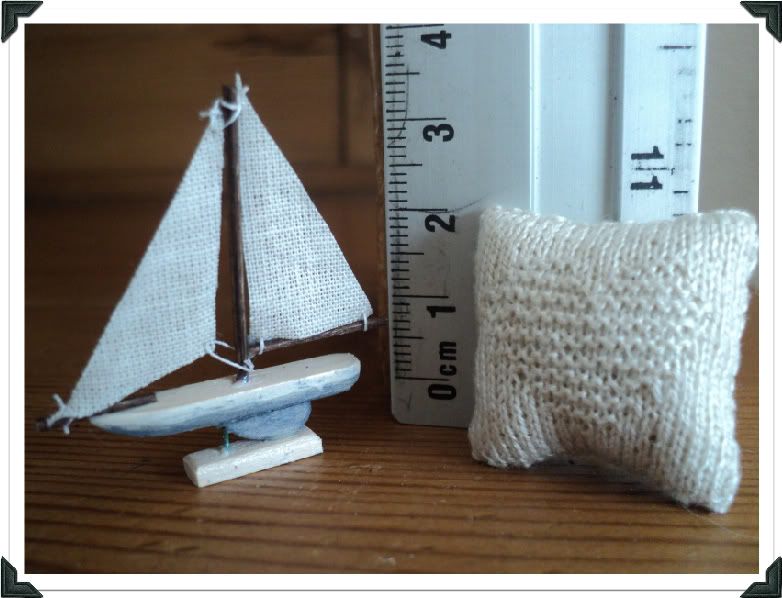
To give you a better impression on how tiny these beauties are I took a picture with a ruler behind them.

I'm going to sit and admire them for another few hours...wait...hold on! I was so hasty to show you these treasures I haven't even thanked Sjoukje properly yet! THANK YOU SJOUKJE!!!

(my day sure is!)


I confess...I'm a fake

Yeah!! My images are back!!


I'm no painter...I lack the talent, skills and the abilities.
I've been wondering for ages how to transfer a printed picture on wood. I could ofcourse just cut out the image and paste it on with glue but I really wanted pictures to look like they were painted on wood.
I'm horrible in painting myself so why not cheat a little and just use some magic?
I stumbled upon  something called 'Powerprint'. Although I haven't seen it used in miniature land till now I decided to give it a try. And finally I can say I'm getting the results I was hoping for.

What do you need to transfer an image/print on wood?
- Powerprint (laserjet printer medium)
- A picture (laser printed)
- Paintbrush
- Pressure roller
- Hairdryer
- Water
- Sponge

Some  tips before you start:
  1. Make sure the picture you want to transfer has colors that won´t run. I use laserjet prints because inkjet prints will do just that. You can use photographs or pictures out of a magazine as well.
  2. Also remember that white isn´t a color that will transfer. The white color will look transparent after transferring. To keep the white colors transfer unto a white background.
  3. If you want to print text on the surface don´t forget to print the text in mirror or else the letters will be in reverse after transferring and unreadable.

First cut out the picture you want to transfer.
Prepare the surface you want your picture to be transferred on, I've sanded a piece of wood, painted it white and sanded it again. 
Use a paintbrush to apply the Powerprint. Make strokes horizontally and vertically to cover the whole surface
Do the same with the image you want to transfer, apply on  the printed side, not the backside.


Place the image on the  wood and make sure you press it firmly, use a roller to apply pressure evenly. I've used the handle of one of my tools as roller.  If excess powerprint attaches to your roller clean with a damp cloth,  powerprint is sticky stuff.

Dry the picture for  10 minutes with a hairdryer. Turn your work around from time to time to dry front and back.  Be patient  to allow the work to totally . The perfect time to have a cup of tea or coffee!

Let the picture cool off.

Moisten the sponge with water and carefully stroke upon the paper surface of the picture. You´ll notice the layers of paper will loosen. With the sponge and your fingertip carefully scrape away the layers of paper untill you see the picture again.


Let the work dry in between and you might see some white paper left. Continue the process until you have only the image left. At this stage be careful not to be to enthusiastic and scratch away the image itself.
The image on the left still has some layers of paper left, the image on the right is almost done.
As finishing touch I have applied some bronze coloured paint on the edges of the picture. When all was dry I've applied a coat of satin varnish.