Posts tonen met het label Tutorial Dollhouse Miniature. Alle posts tonen

maandag 10 december 2012

Another tutorial: a deer lost its head


This is the second tutorial I made for the calender I told you about yesterday. It's a deerhead made out of cardboard to hang on the wall, it might look difficult but I assure you it's do-able so why don't you give it a try? I made the deerhead in different styles: a classic brown version, the white one you see above and a shabby chic pink one.
Click on the deerhead  and you'll see the instructions and templates needed to make your own.
Enjoy!

zondag 1 april 2012

Tutorial Spring Butterfly Lantern


What should I call this thingy I made; 'birdhouse with butterfly', 'butterfly house', 'hanging spring ornament' or maybe 'paper latern shaped like a birdhouse and with a butterfly stuck in the middle' (hmmm...accurate but kinda long)??? Oh well, the name doesn't really matter now does it? Here I have a tutorial for you; real easy to make, with materials  everyone has laying around and done in no time. As you can see I'm still celebrating my favorite season of all: SPRING!!

Materials needed:
Pretty paper
Scissors
Pencil
Glue (gluestick for paper)
Paper punch (heart shape)
Paper punch (butterfly shape)
Embroidery thread
Tiny bead
yes...
that's all!

Don't despair if you don't have the paper punches I've used. Any shape would really do, just keep the measurements in mind.

Step 1: Making a template
Take a small piece of cardboard (a square 4 cm is more then enough) and fold this in half. Draw half of a house on the cardboard and cut the shape you've drawn out. By the way...this is the perfect method to create identical sides to any shape you want to draw.
Check to see if the shape of the house you've obtained is to your liking.

Step 2: Making the walls
Cut out a strip of pretty paper (4 cm - 18 cm) and fold in half. Using the template draw the househalf 6 times and cut out.


Take the paper punch and punch out the hearts. To be able to punch exaclty in the middle first unfold the piece of paper and use the folding line as a guide. Turn your punch upside down and see if the folding line is in the middle of your punch.


Step 3: Glue together
Glue the folded pieces one on top of the other, don't glue the whole house together just yet. Leave the last two sides open. Leave to dry.


Step 4: Finishing touches
Color the cut edges with color pen or ink. I've used distress ink on mine.

Find your embroidery thread, a tiny bead and two tiny punches (I've used two butterflies)

Cut 16 cm of the embroidery thread and fold in half, tie a knot to leave a loop from which the house can be hung. Place a tiny bead unto the thread, underneath the knot.
Fold the house open and place the thread in the middle. Take two buttefly punches and determine the correct place on the thread to glue them. Glue the two butterflies on top of one another. Glue the remaining sides of the house together.

Done!!!

I hope you enjoy this tutorial.

zaterdag 10 maart 2012

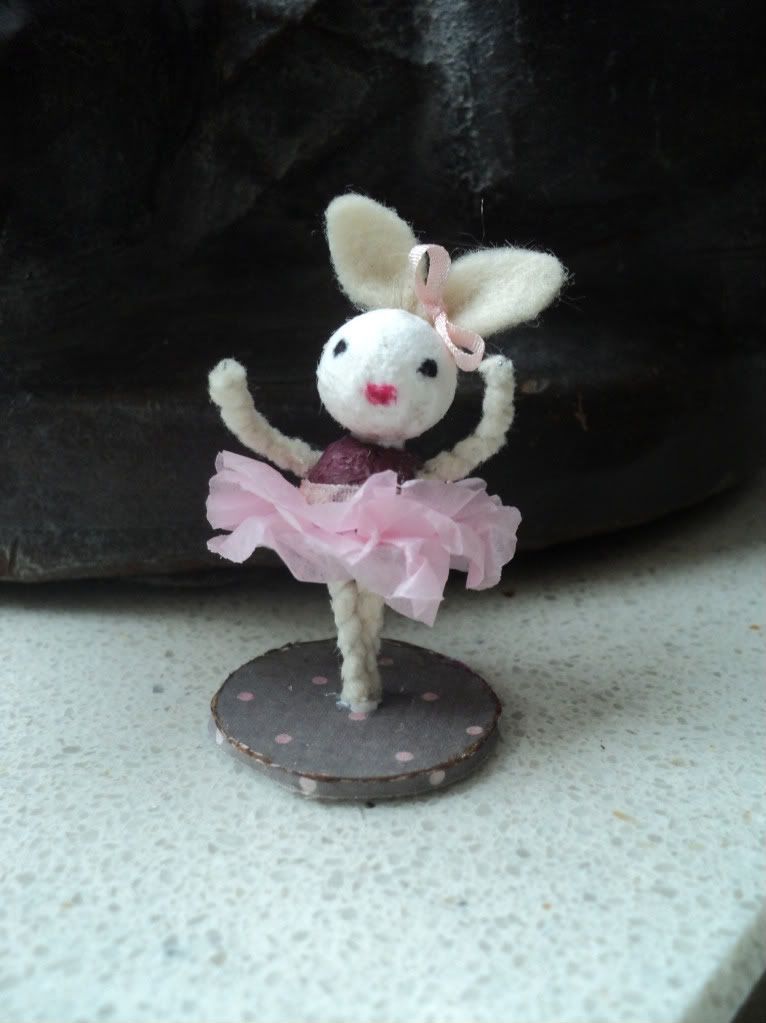
Tutorial Bunny Ballerina


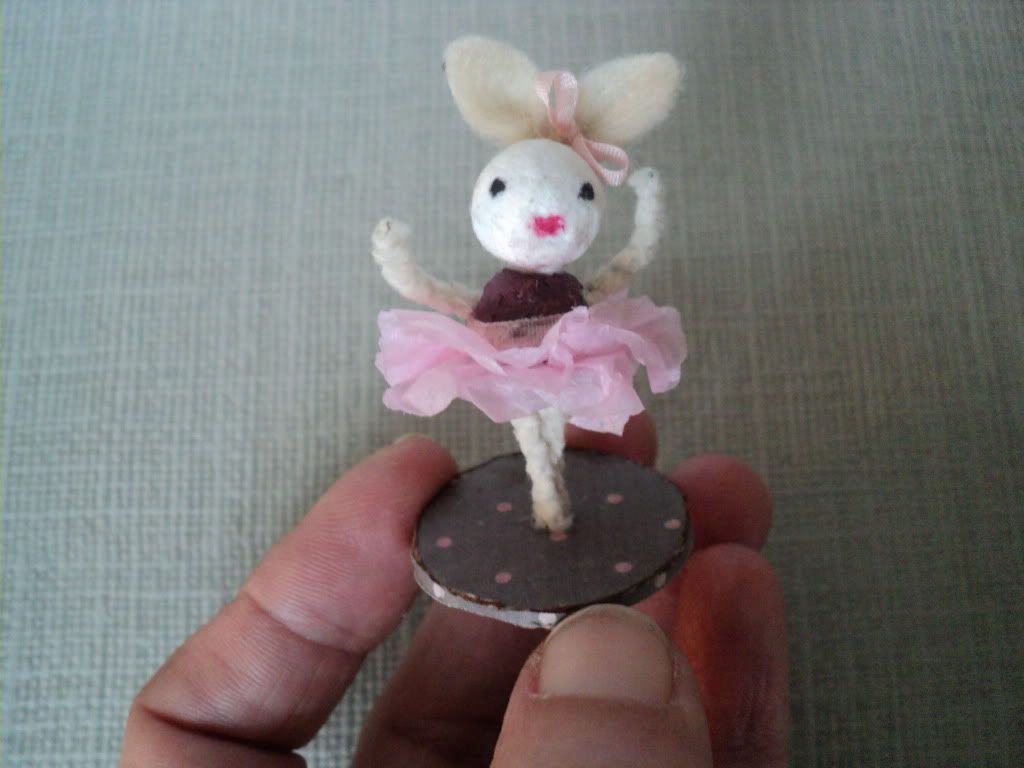
Dancing on tiptoes...a cute little bunny for you to make.
So let's grab the materials and put this little ballerina on her feet, it's an easy project and so adorable when finished. Who knows..maybe this bunny will lighten up your coming Easter.

Materials needed:
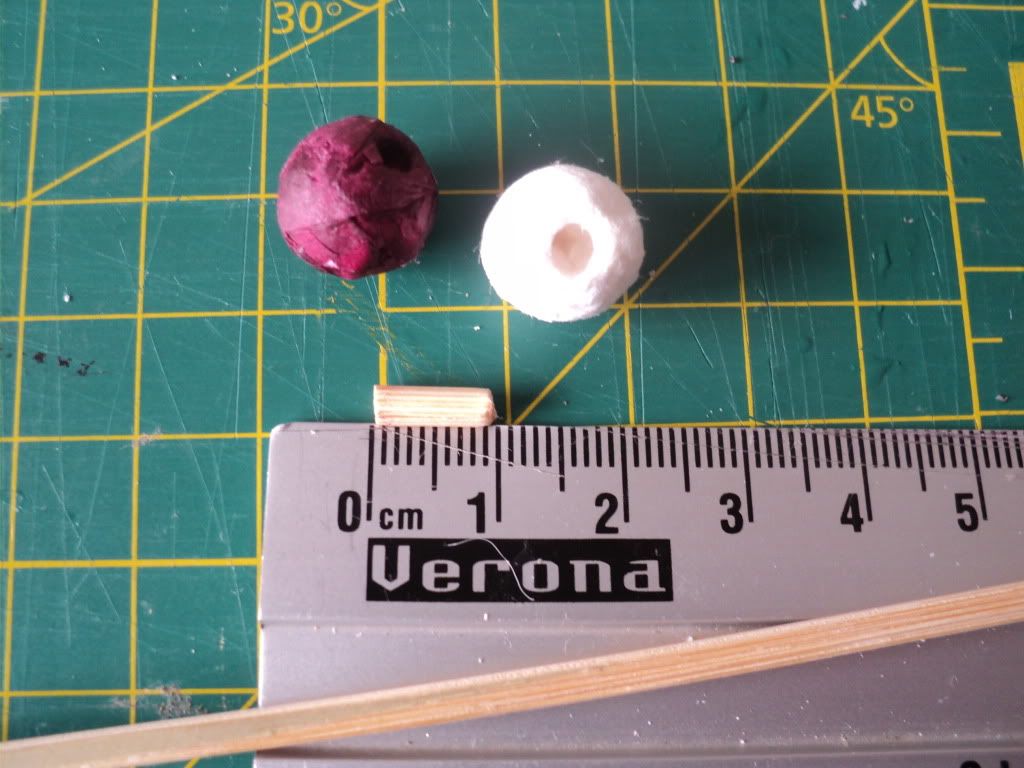
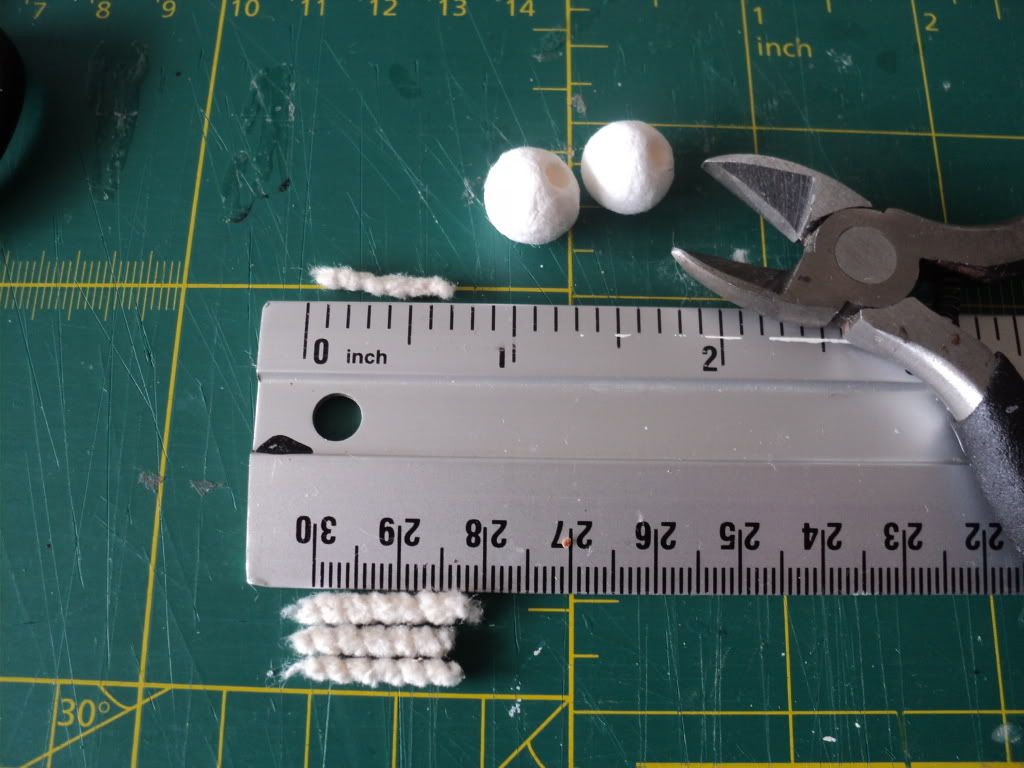
Two pressed cotton balls (1 cm diameter)
A chenille stick
A round toothpick
Scraps of paper for the dress (I used two colors tissue paper)
A tiny piece of felt for the ears
Markers, black and pink
 A circle cut out of cardboard
Pretty paper to cover the cardboard circle
Glue
Scissors

Step 1 - Let's do some bodywrapping
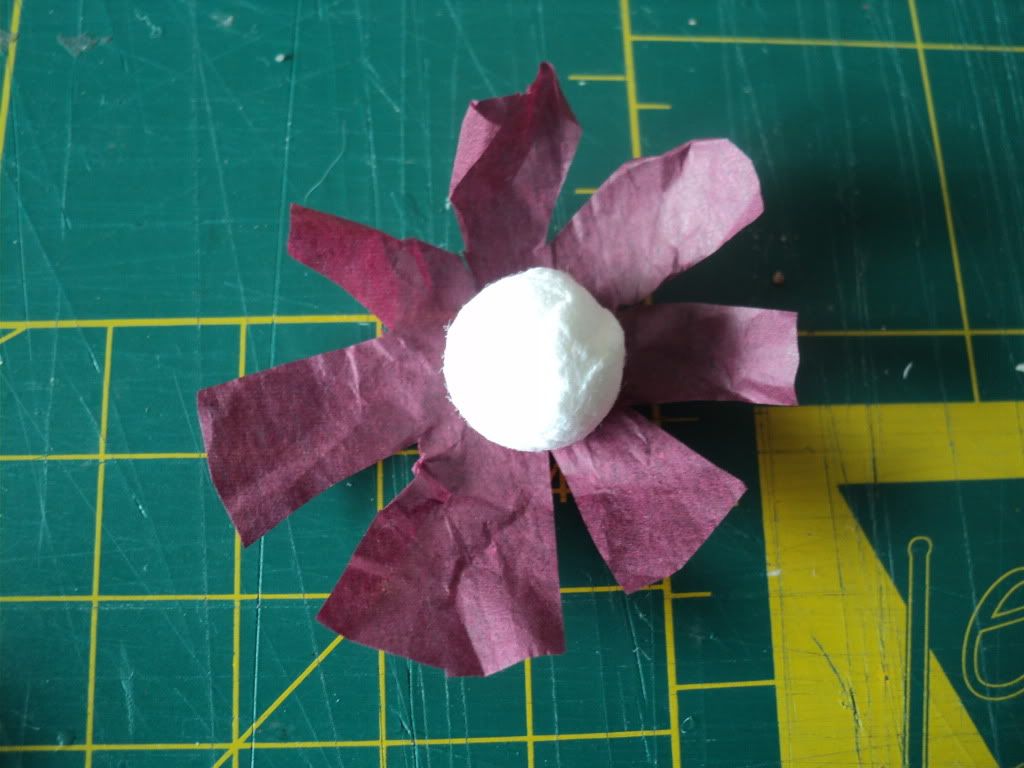
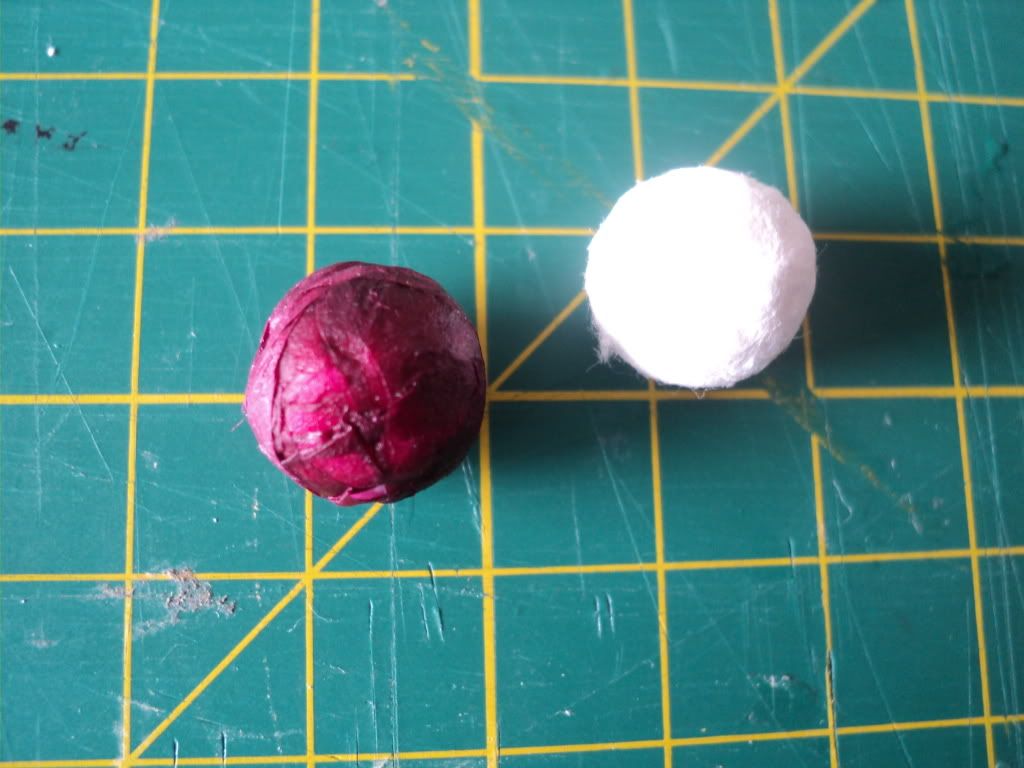
Cover one of the cotton balls with the paper of your choice. This ball is going to be the body of our ballerina. Cut a wide enough circle out of the paper to cover the whole ball. Glue the paper onto the cotton ball untill it is covered. On one side there's a hole in the cotton ball, make sure to keep that hole usuable, don't cover it up.


Set aside to dry.

Step 2 - I like a firm head
Cut a small piece from the toothpick, the length should be just enough to attach the head to the body of the bunny. I needed 1 cm in this case. Glue the piece of wood into the hole of head.

  
Step 2 - To hear I need an ear...or two
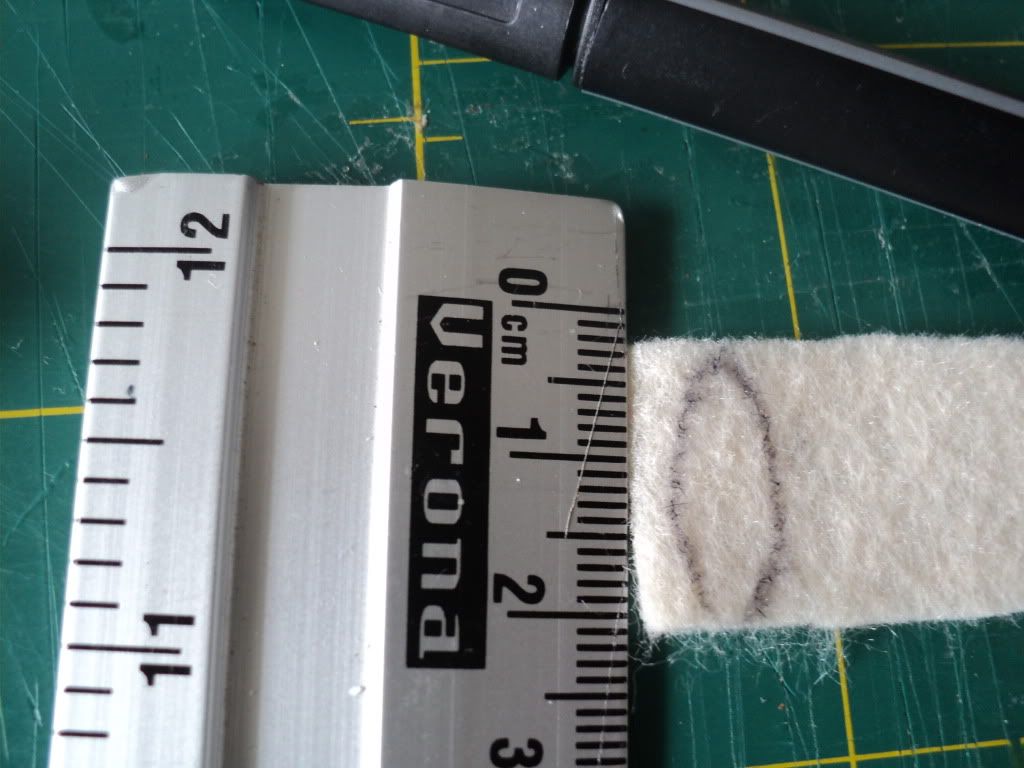
Cut two little ears out of the felt. Have a look at the picture to see the shape.
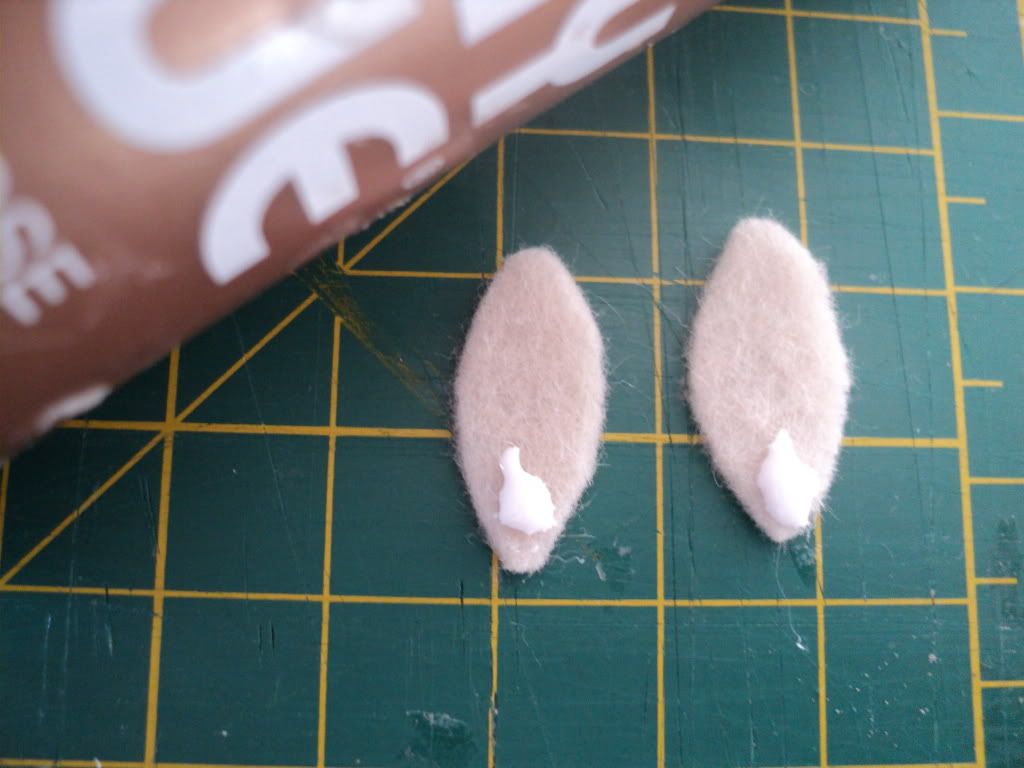
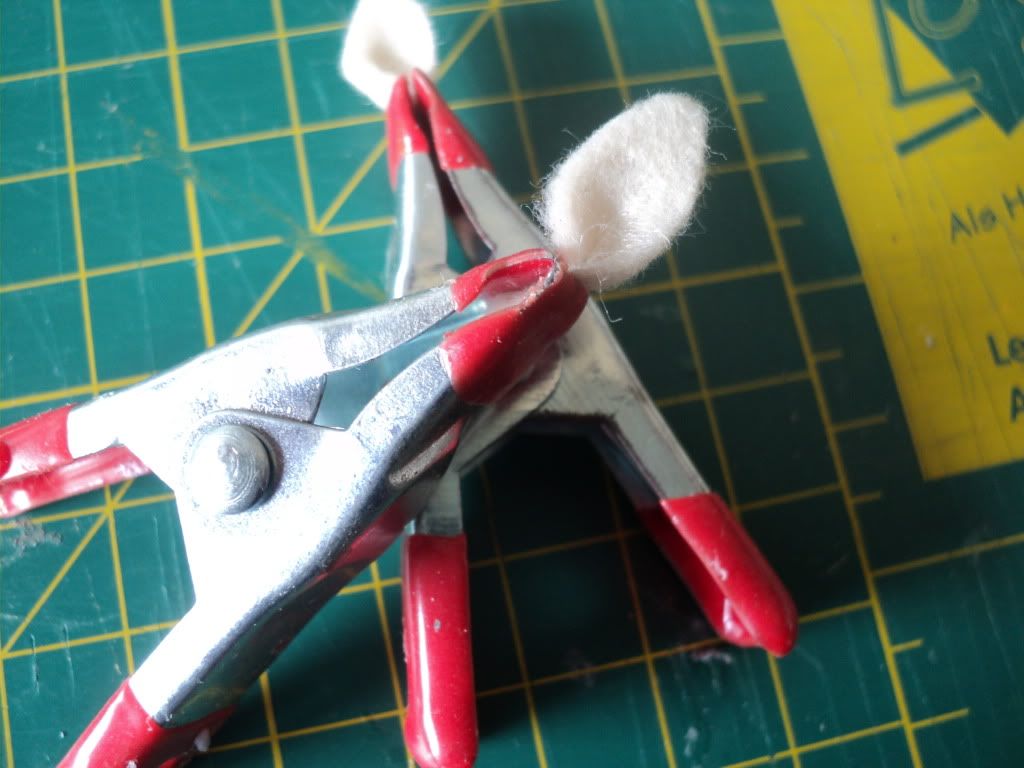
Put a tiny blob of glue on the bottom of an ear. Glue the sides of the ear together.Take care only to glue the bottom half and leave the top ear as it is. Use a clip to secure and set aside to dry.  

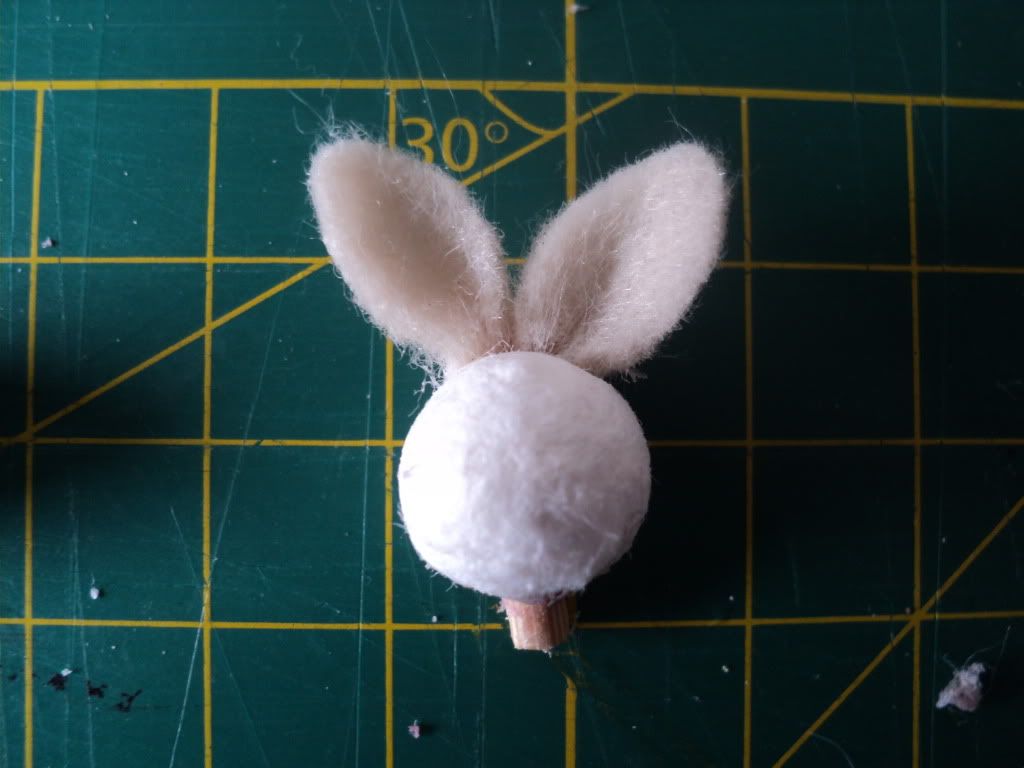
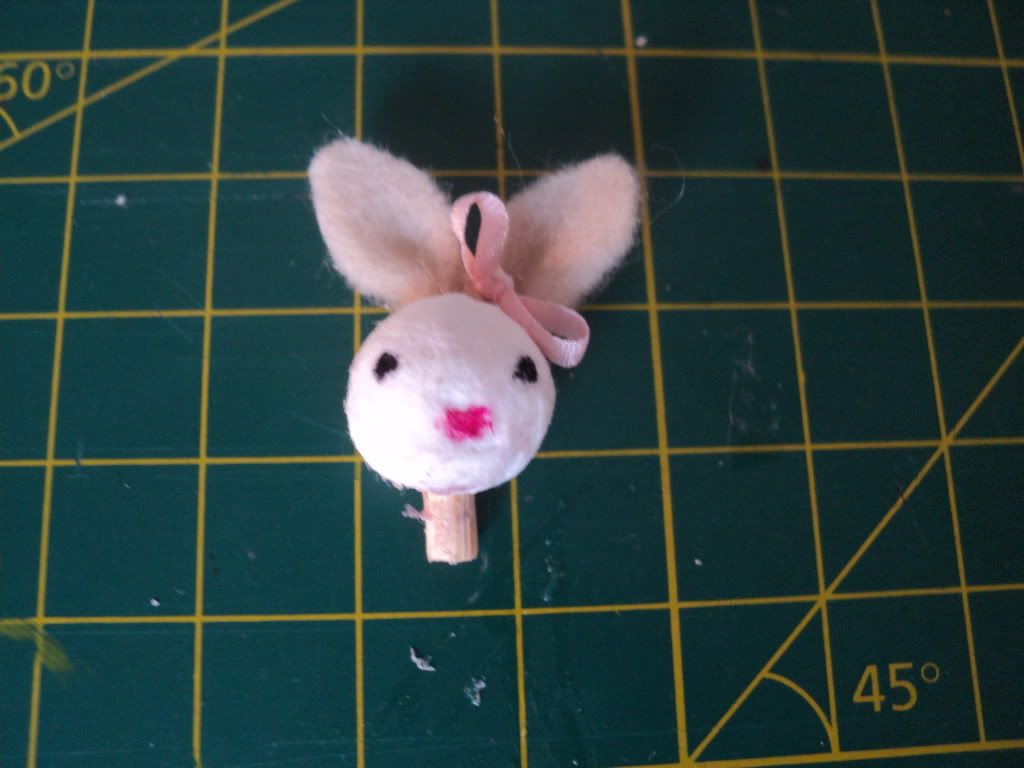
When the ears are dry glue them to the backside of the head.  Trim the glued end if needed.

Position of the ears at the backside of the head


 This is how the head looks from the front side


Step 3 - Put your left leg out, put your right arm in
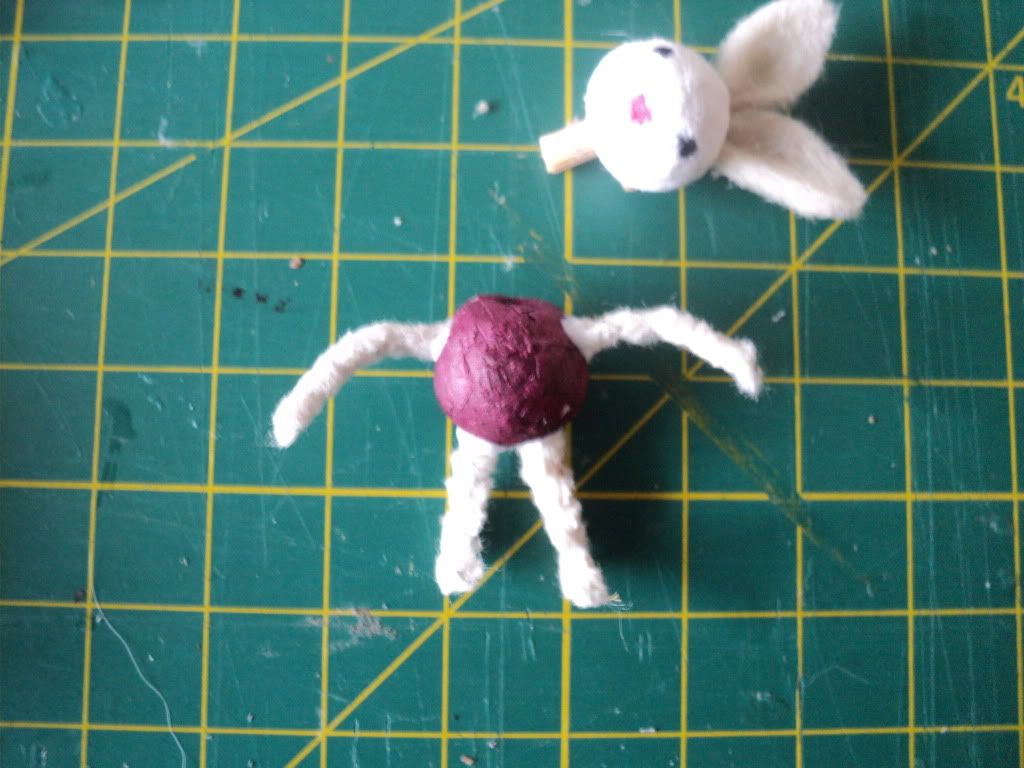
Cut 4 pieces of chenille stick into 2 cm parts. Two will be the arms, the other two the legs. Poke with a craft pick two holes on the side of the body and two on the bottom. Put a tiny amount of glue on one end of the chenille sticks and insert the sticks in the holes. Allow to dry.


Step 4 - I spy with my little eye
Take the markers and draw the two eyes with black and the mouth with pink. Since the cotton ball will absorb the ink quickly don't put to much pressure on your maker. If needed you can mark the position of the eyes and mouth first with a crayon and when satisfied use the marker.


Step 5 - The dress makes the bunny
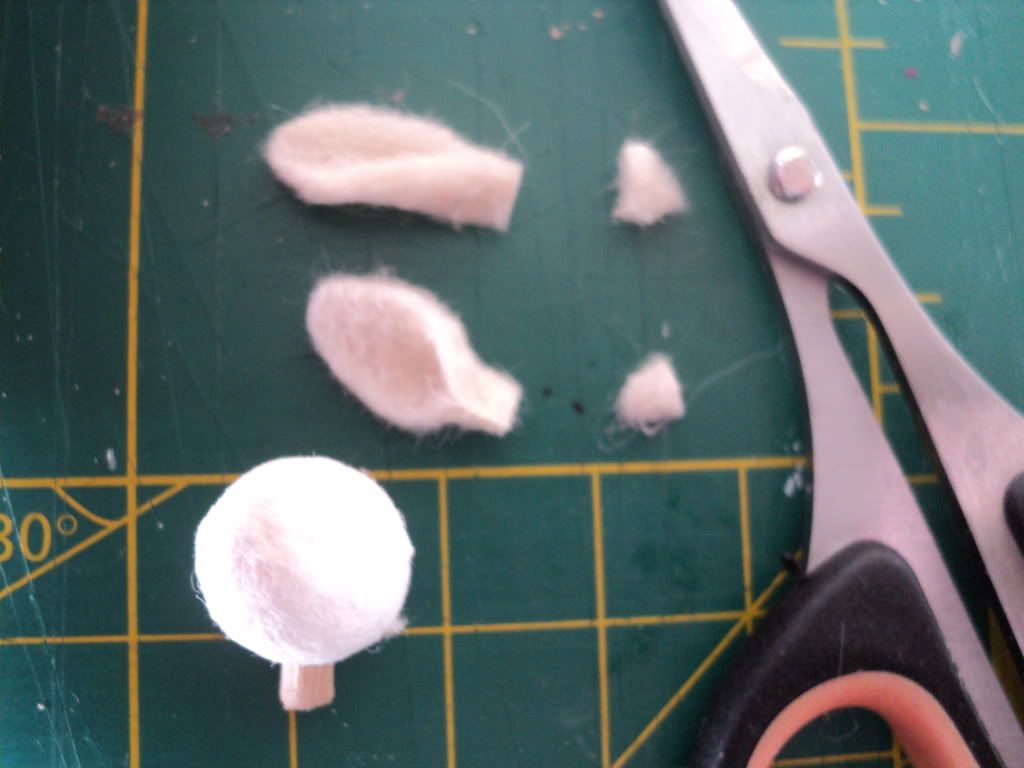
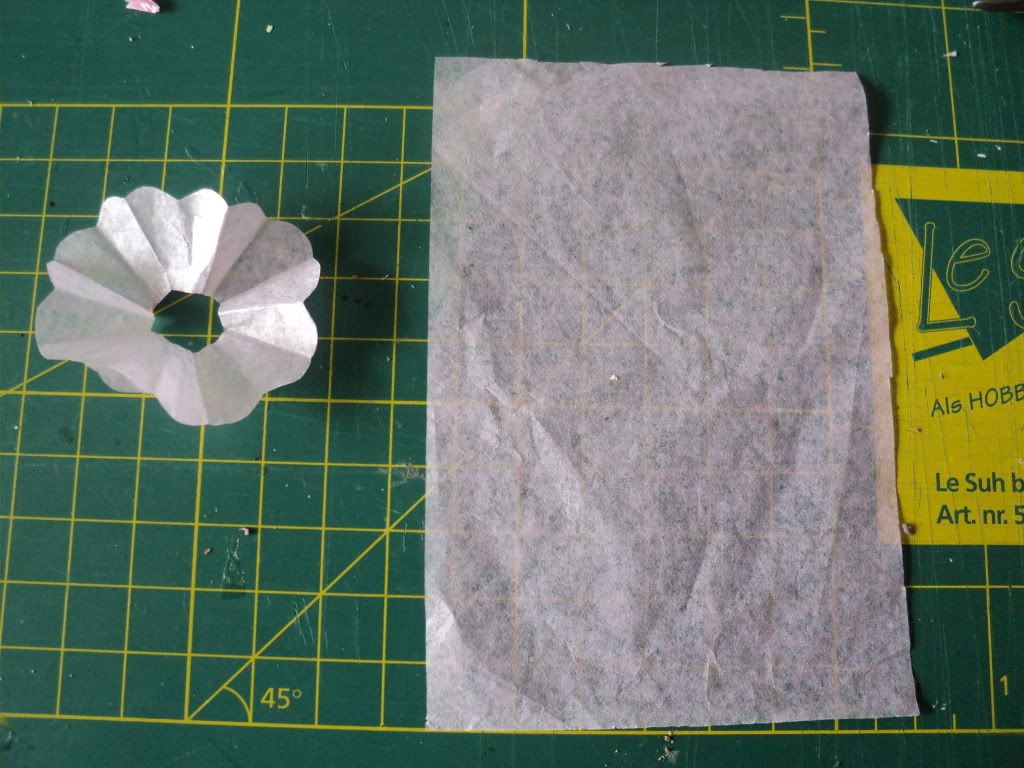
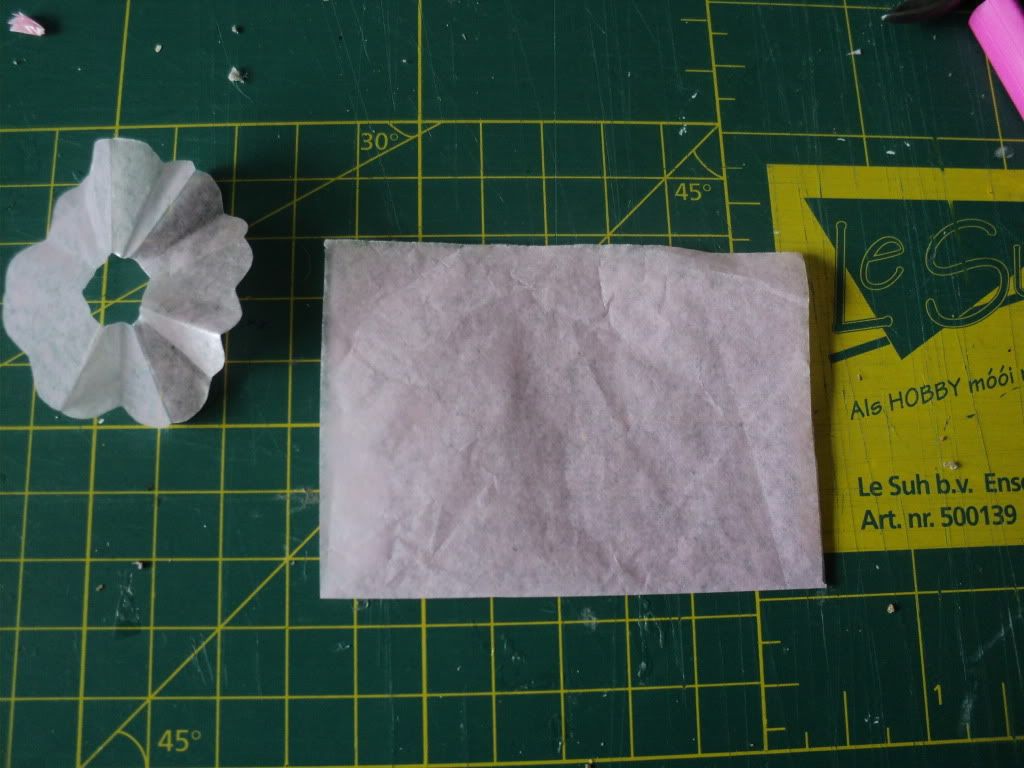
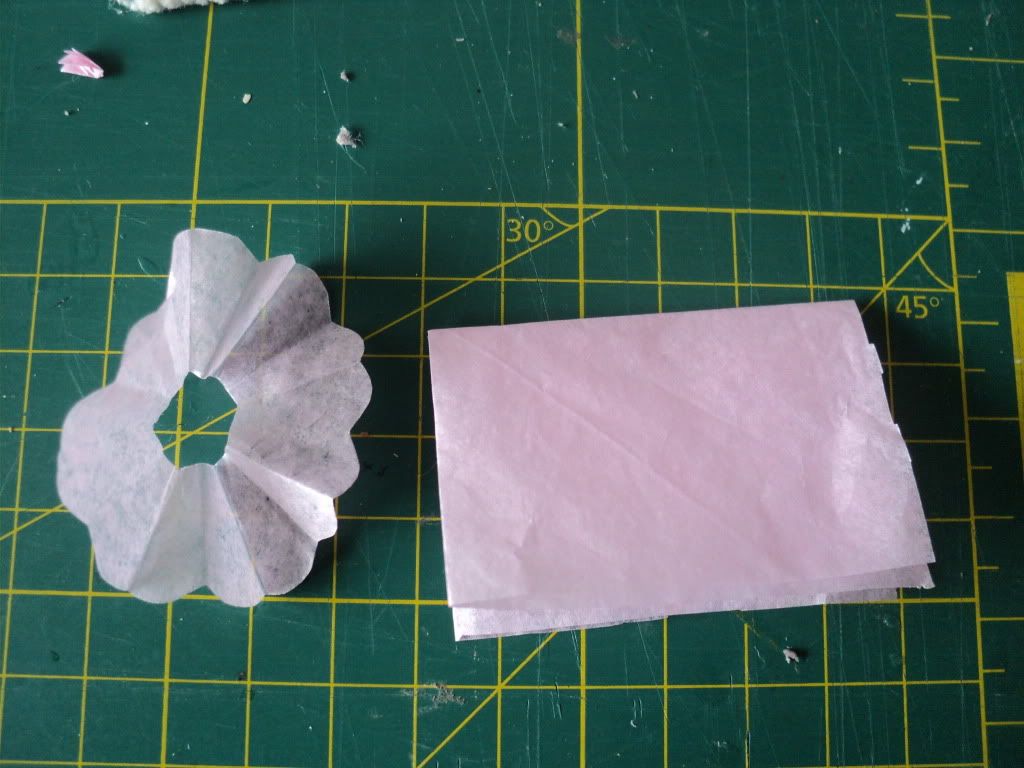
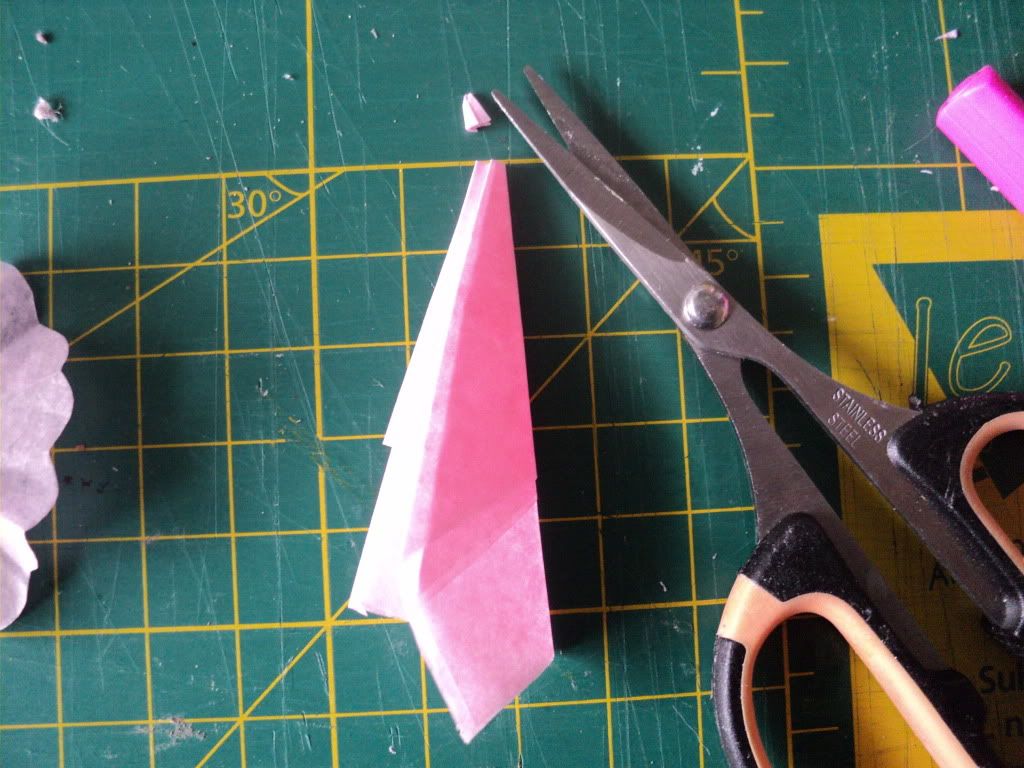
The tutu is made out of three layers of tissue paper. For each layer take a piece of paper and fold in half, fold in half again.


Take the upper right corner and fold it down, you'll have a triangle shape
Fold again in the same manner

Take the scissors and cut the top point off

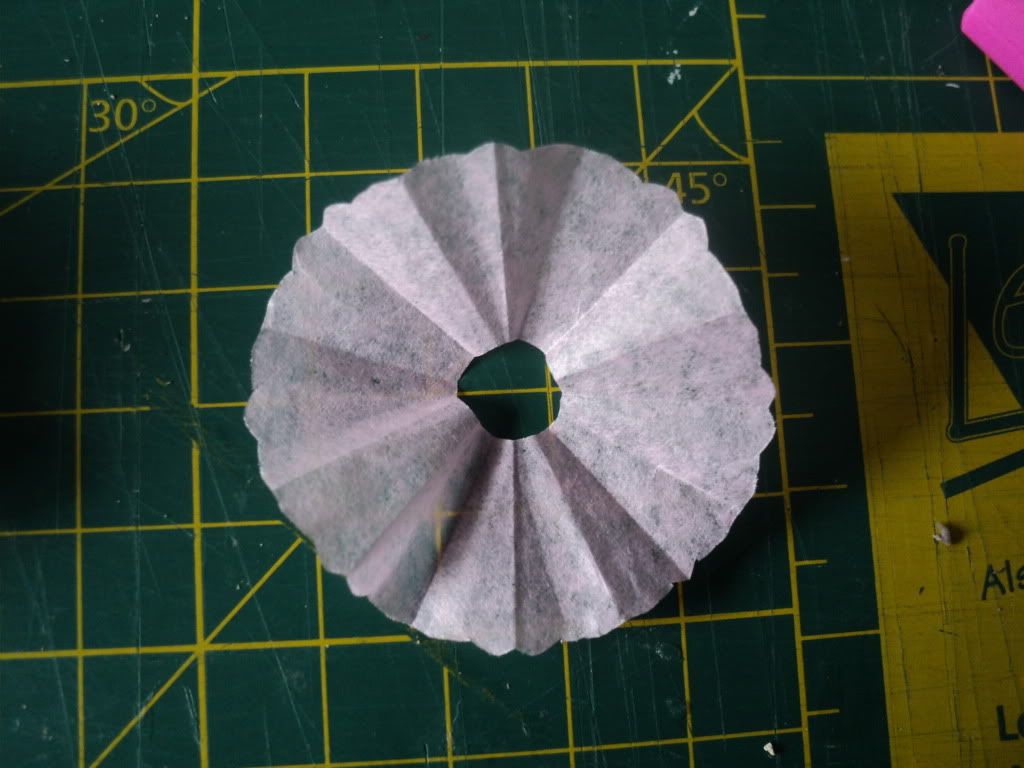
Cut the lower part into a roundish shape

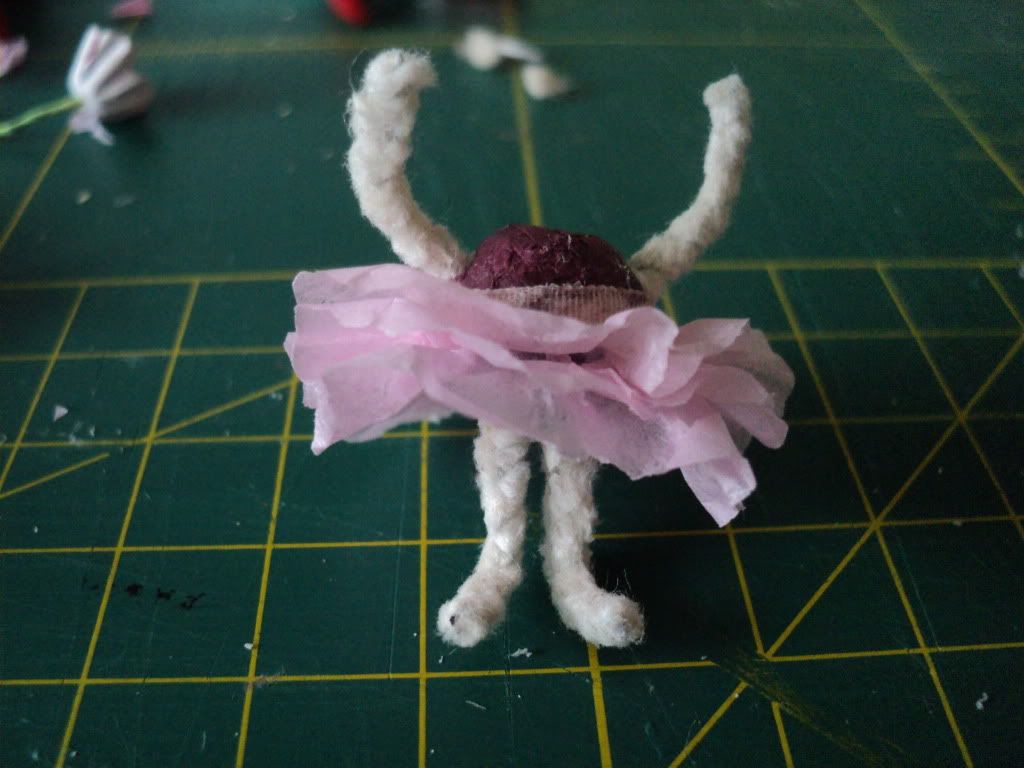
The completed skirt

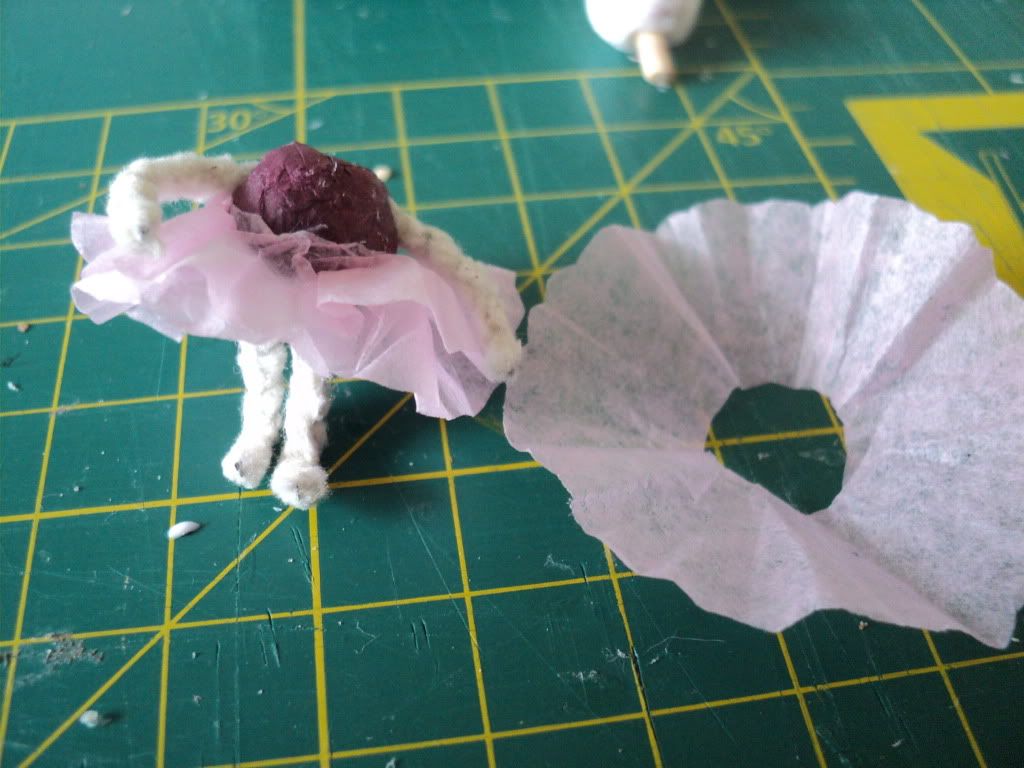
Cut three skirts and glue them to the body. Use a tiny amount glue.

So far...so good. It should look something like this:


Step 6 - Standing firm
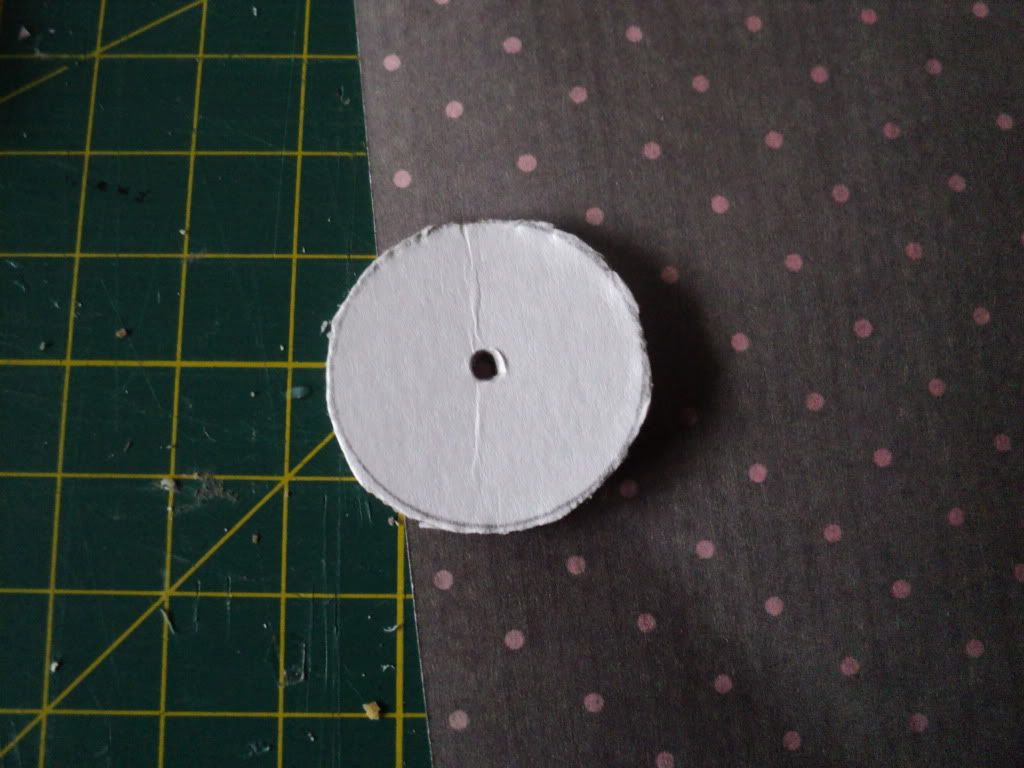
Cut a circle out of cardboard and poke a hole in the middle. Cover the circle with a pretty paper. When dry, glue the feet of the ballerina into the hole.


Step 7 - The grand finale
I like bows so bunny had to have one too!

And...glue the neck into the hole of the body. We're done!


I hope you like this tutorial, if you have any questions don't hesitate to ask. Have fun!

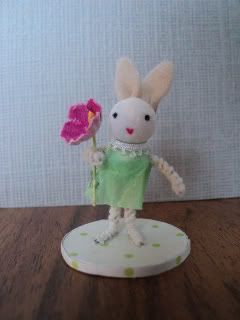
Here's another bunny I made.
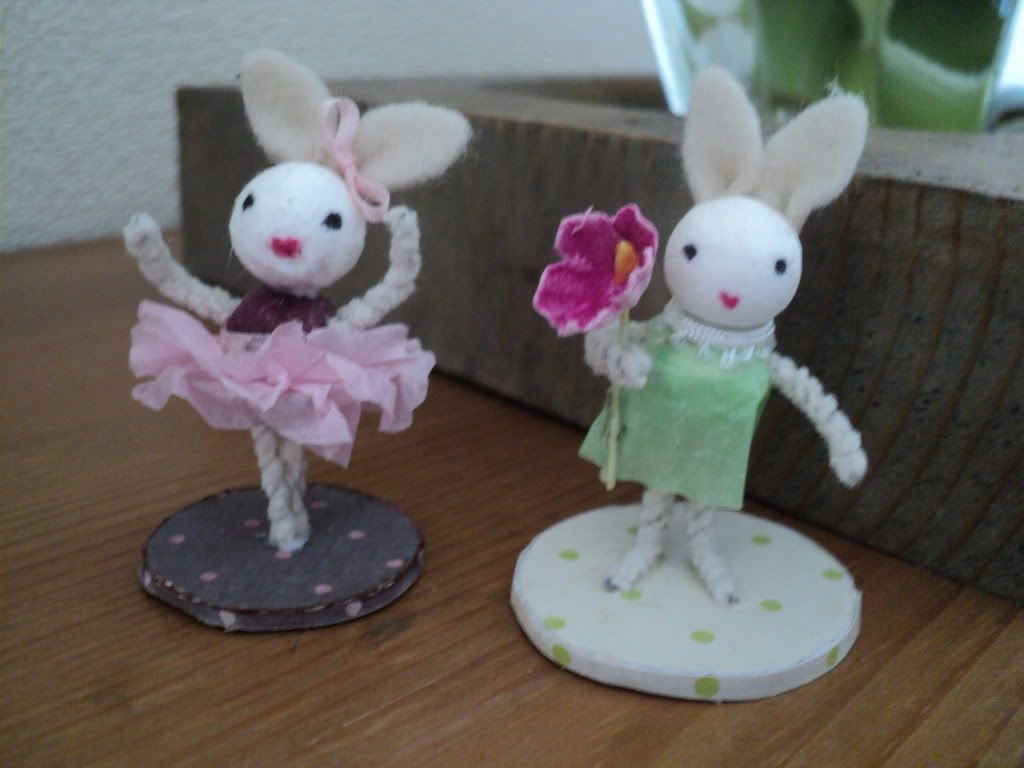
Bella Ballerina and Fluffy Flower together. Aren't they cute? Oh dear....making bunnies is becoming addictive!

  

donderdag 3 november 2011

Mom *gasp* ...There's a hedgehog in the microwave!!!


I've been making hedgehogs today and decided to make some pictures along the way to show you how.

First of all you'll need: fimoclay (brown, ocre and black), craftknife, clay gun (mine is from Artwork) but you could use a garlic press, tweezers, bowl, water, microwave.


Make a ball out of brown fimoclay, press it down on your worktop to get a flat bottom. Mold it into a yellybean shape. With the craftknife cut off the edge of one of the sides. Now you have the body of your hedgehog. Don't make the body to big, it will become much bigger after you've put spikes on it.
Make a smaller ball out of ocre fimoclay, form a yellybean shape and cut that in half. This will be the head of the hedgehog
Put the two pieces together and there you have a nude hedgehog!

For the spikes put some brown fimoclay through your claygun or garlic press.

Cut the strings of clay into tiny pieces

Pick up the little strips of clay with your tweezers and push them into the body of your hedgehog. Start at the back. Try not touching the clay with your fingers because the spikes will flatten.
Halfway through....yes, it's looking more like a hedgehog already!
Done..one spikey hedgehog
For the eyes and nose take some black fimoclay and make two tiny balls. Cut one of the balls in half; those are the eyes. The other ball is the nose.

You can bake your hedgehog in the oven but I prefer microwaving. There is some controversy whether fimoclay is safe to be put in the microwave. Until now I never had problems using the following method:
Put the hedgehog in a microwave suitable bowl and cover it with plain tapwater (use enough water to totally submerge your hedgehog). If you put it straight into the microwave the fimoclay will burn!
Cover the bowl with microwave foil.
Put the bowl into the microwave and heat for 3 minutes. The water will start boiling so do be careful to take it out, the bowl will be hot!
Take the hedgehog out of the bowl with a spoon, you'll notice the fimocolours somewhat fade. Let cool.
Higlight the colors with acrylic paint. Brighten up the eyes and nose with some varnish.
Done!

Don't forget to take the miniatures out of the microwave as I sometimes do. One of the kids, wanting to use the microwave himself,  came in rolling his eyes exclaiming...Mom! There's a hedgehog in the microwave!!!

Have a great day :o)