zondag 10 juni 2012

As promised...

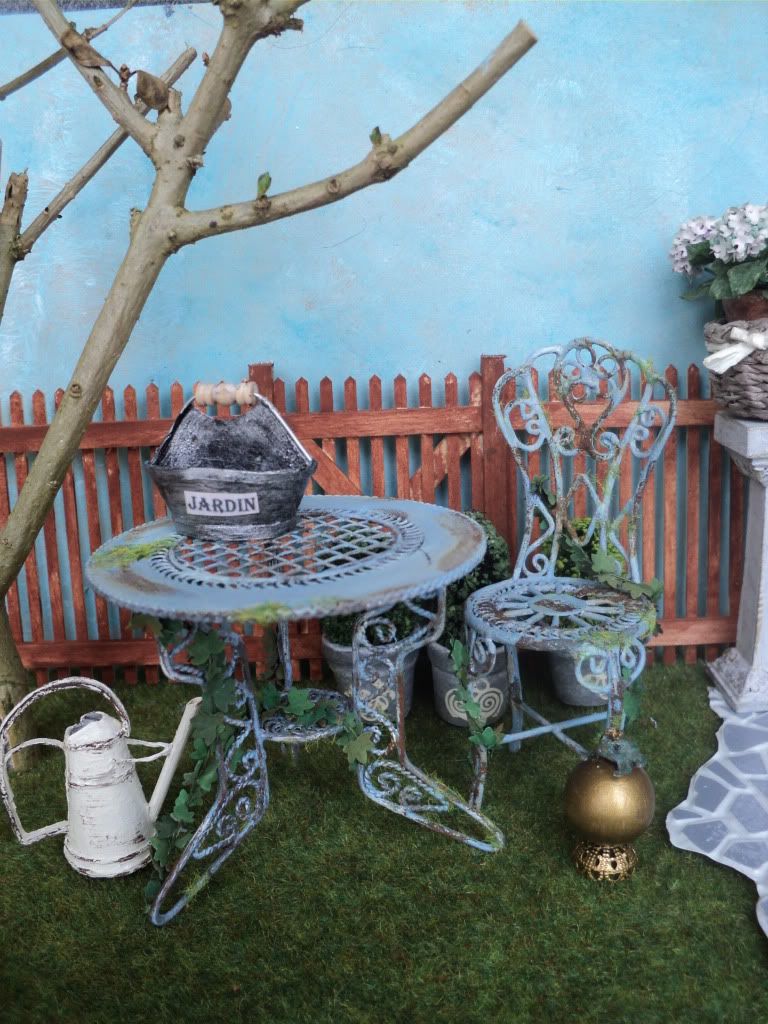
This morning I couldn't wait to take some pictures with the photobox I made. It was so much fun filling it with the miniatures that will be listed in my webshop soon. Here's a little peek at the first pictures I made. I know what I'll be doing today!
So if you happen to see a woman with a French shabby chic shop under one arm, a box full of miniatures under the other and a camera around her neck, looking for the best daylight AND with a huge smile on her face don't be alarmed...it's just me and usually I'm quite harmless.


Have a great day everyone!

zaterdag 9 juni 2012

A posh photobox

Whenever I want to take pictures of my miniatures I use these two boxes: one with wallpaper and a simple wooden pattern on the floor and one with a garden theme. They are easy in use because I can take the anywhere I want to catch the best natural light and using the boxes enabled me to arrange the miniatures in little scenes...

A few days ago I was in the garden with the boxes to take photographs and then it suddenly hit me...I wanted something different, something prettier, something shabby chic; a new photobox!

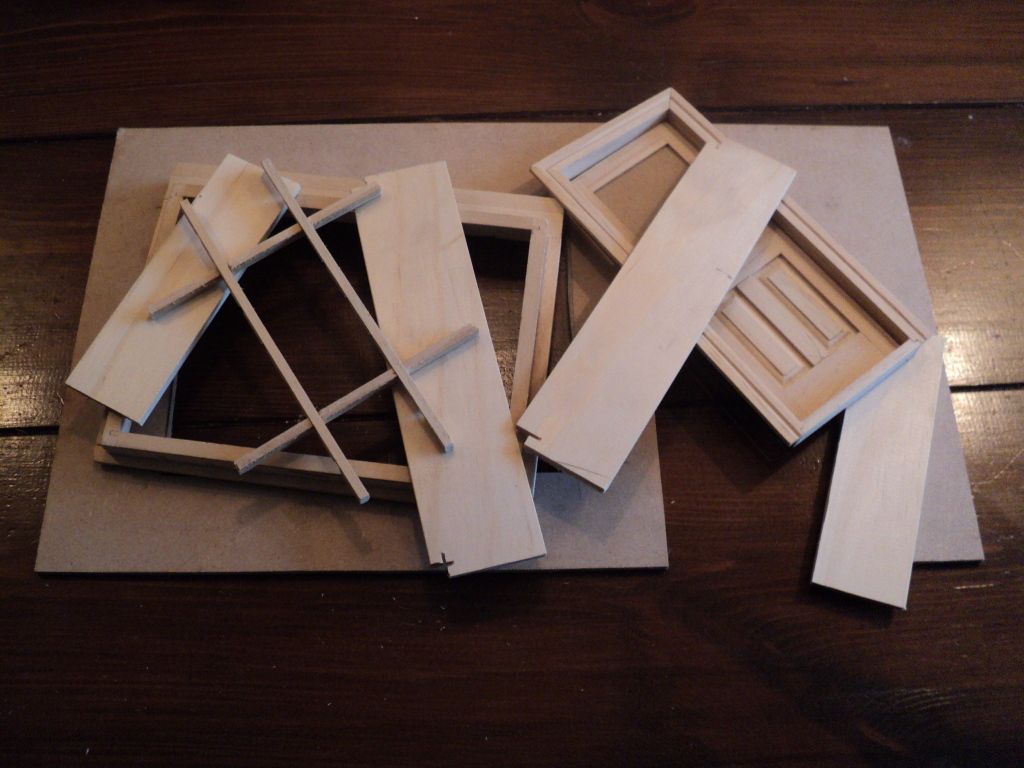
So out came the wood, the cardboard, the paint, the tools and I couldn't wait to bring the idea to life. Why not make a miniature shop as photobox?

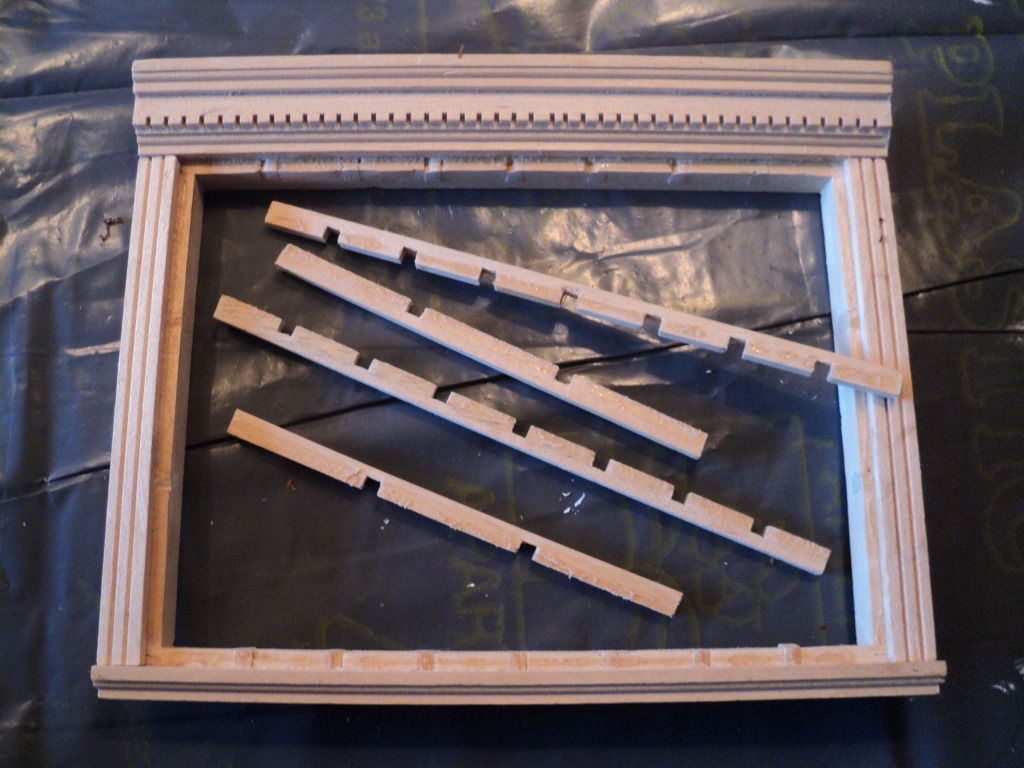
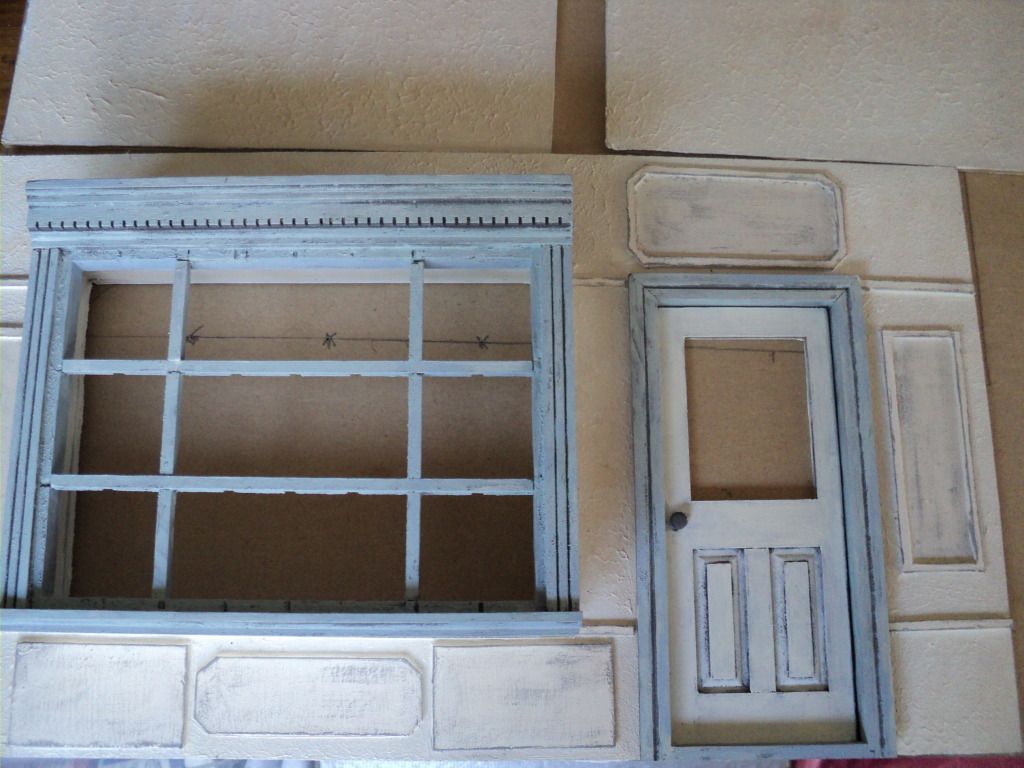
A shop needs a huge window to display the merchandise so I used all kinds of leftover wooden bits and pieces to create one.

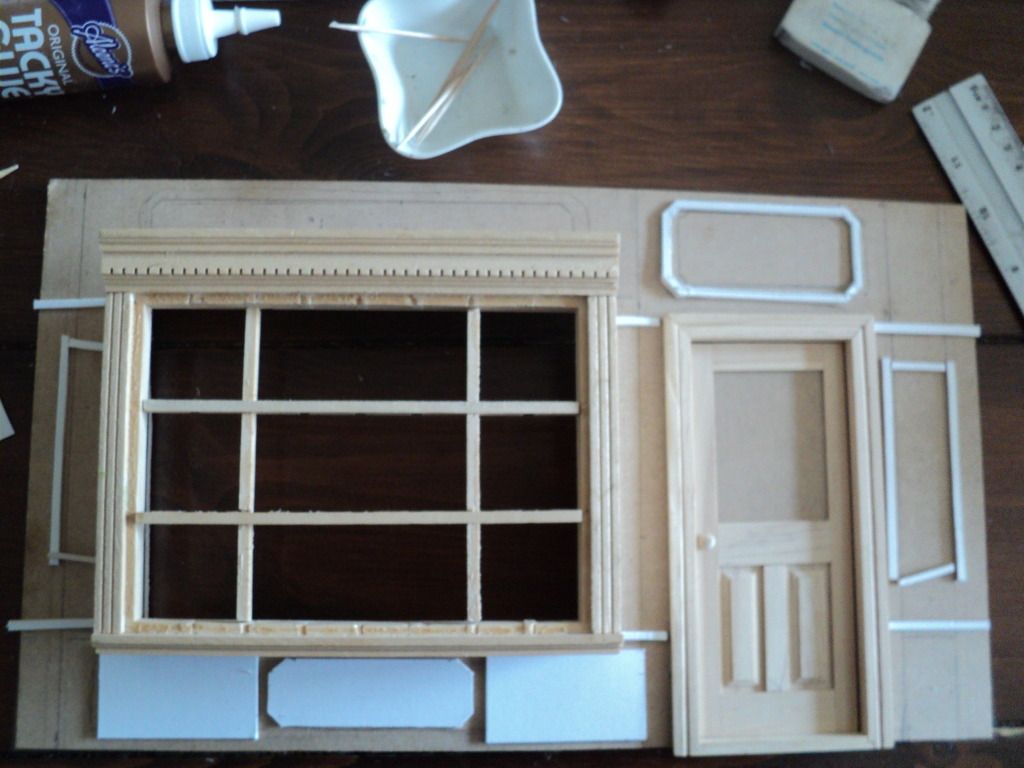
A shop with a vintage French look was the idea that stuck in my mind. I decided to decorate the front of the shop with cardboard.

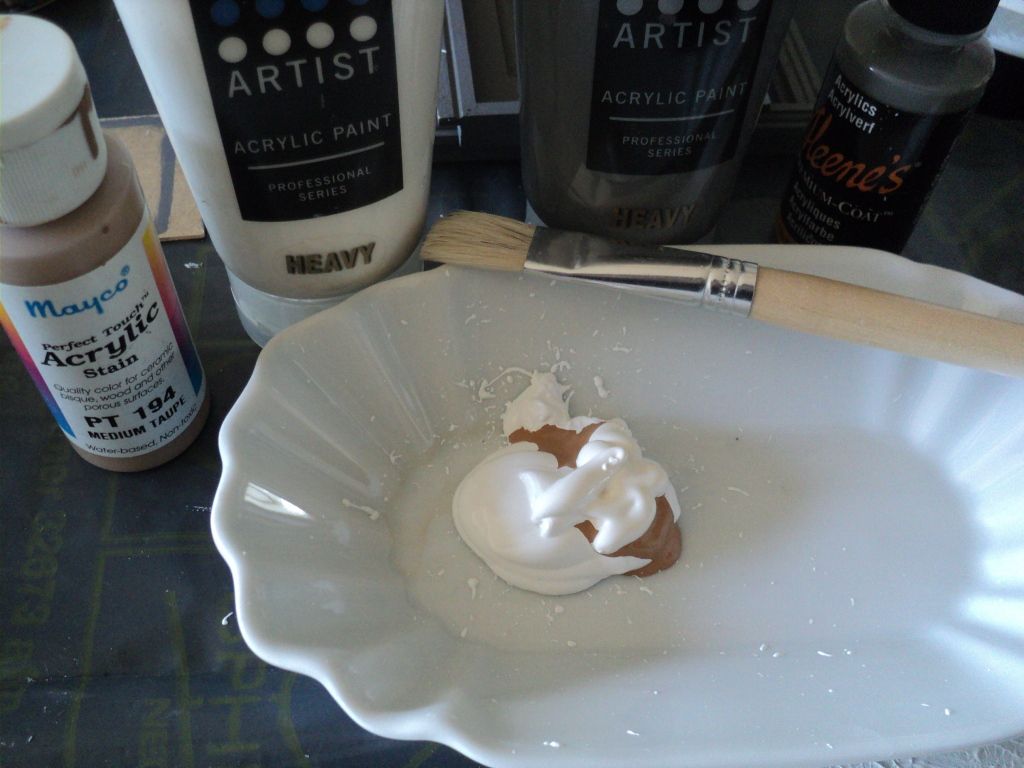
As primer I used Gesso


I decided on egg-white paint with a drop of medium taupe for the wall, I didn't mix the paints thoroughly because I wanted different shades on the wall.

I chose softblue and egg-white paint for the window and door. For the door and window I used grey paint as undercoat.

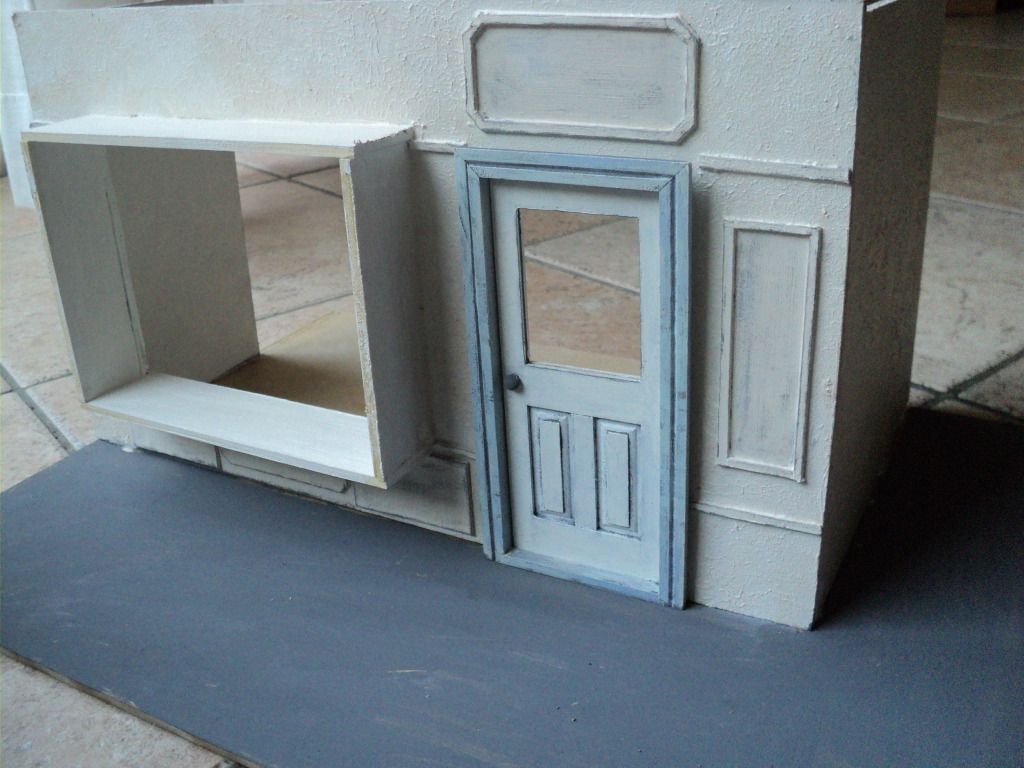
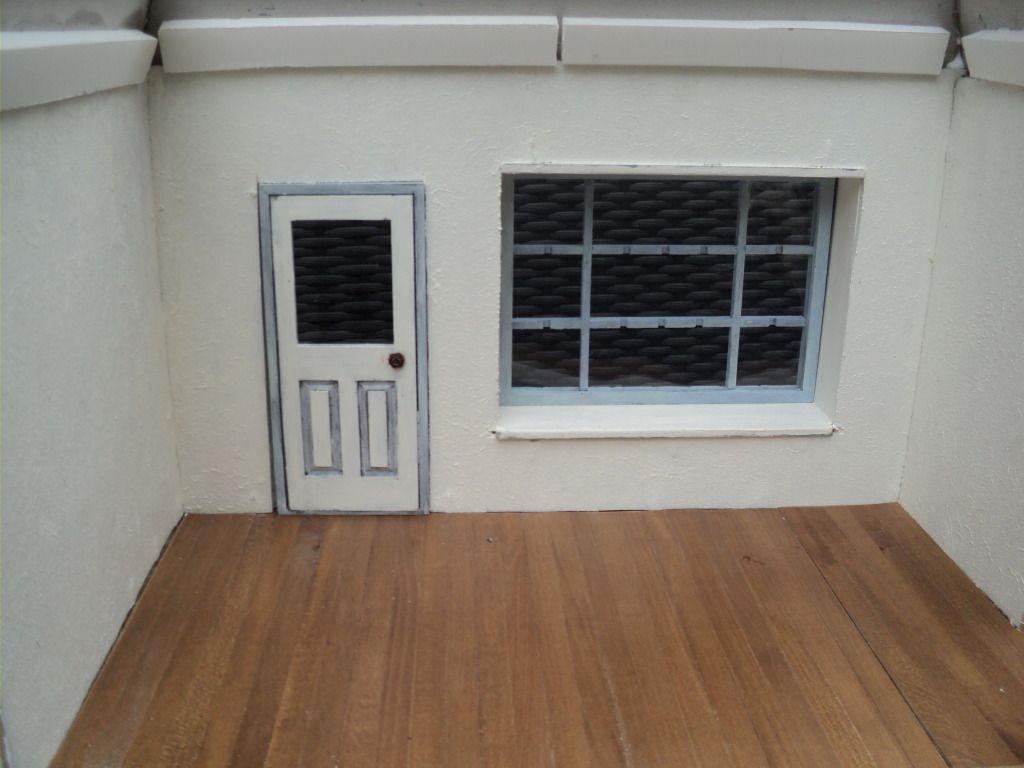
And this is the result after the paintjob: the front of the shop with the window and door and two side walls.


After attaching the walls to the base I painted the outside floor grey.

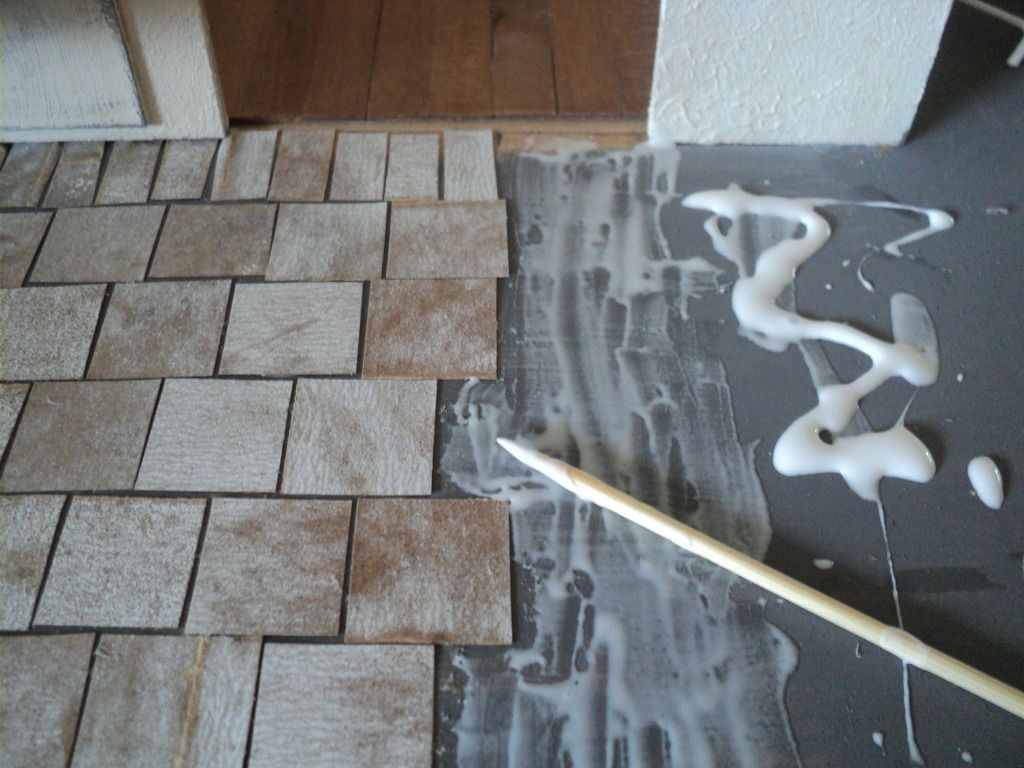
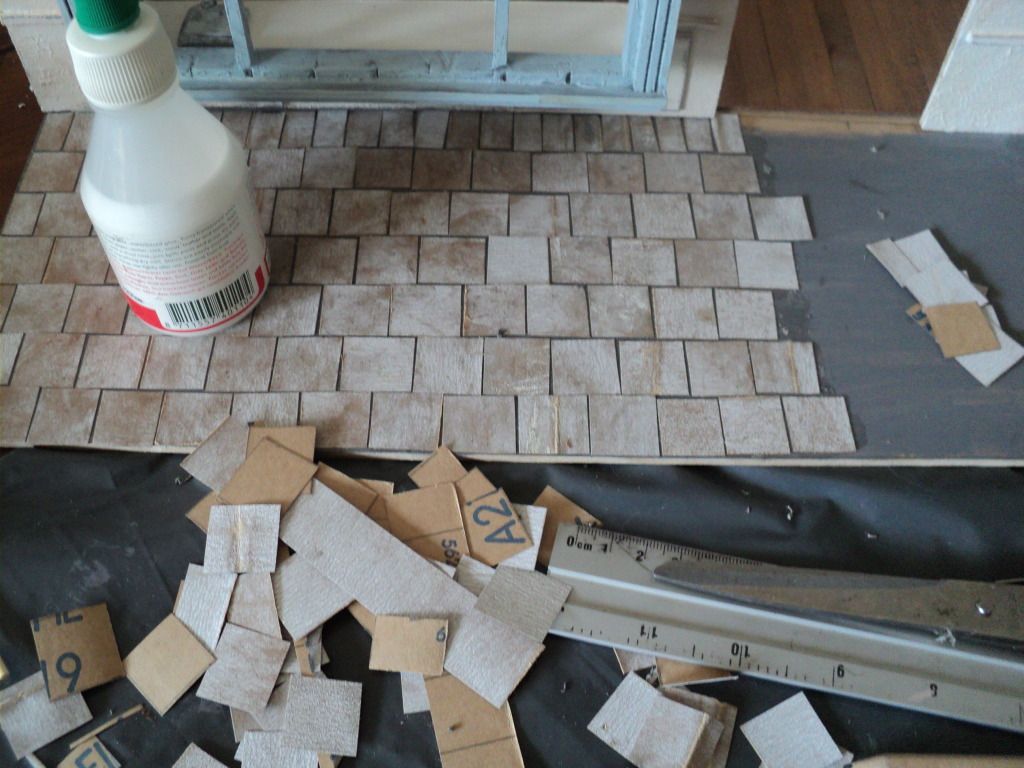
I found used sandpaper that was perfect for floor tiles so I cut the sandpaper in little squares and glued those on the outside floor.


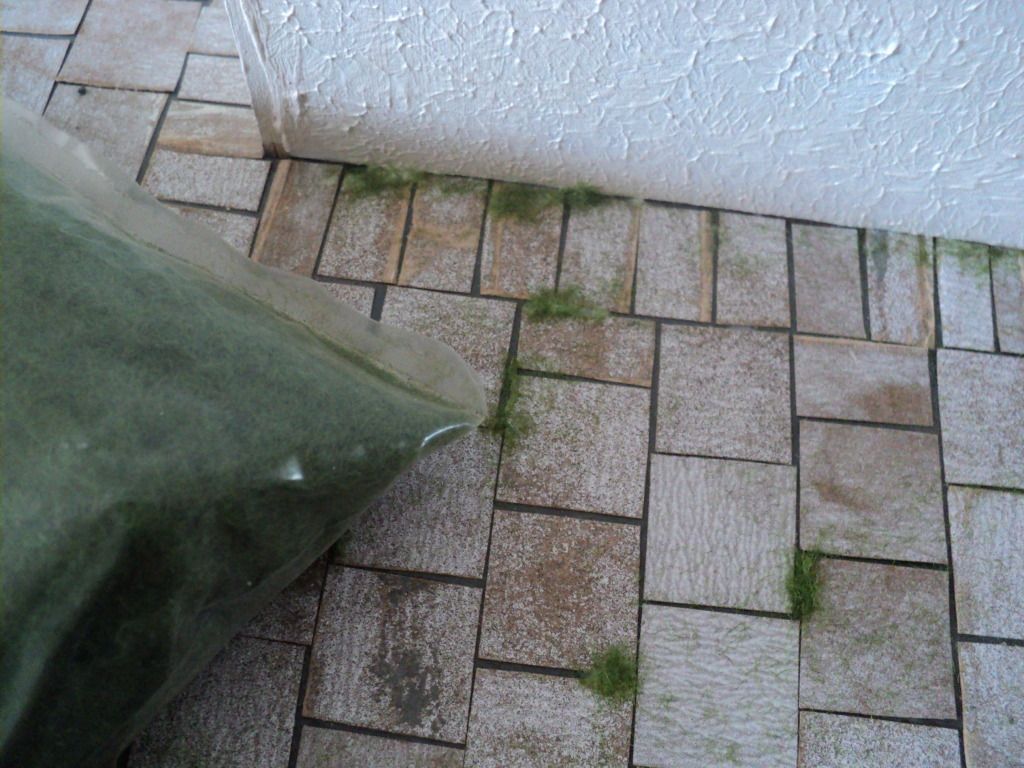
As finishing touch I used green flower soft  as grass peeping through the tiles.

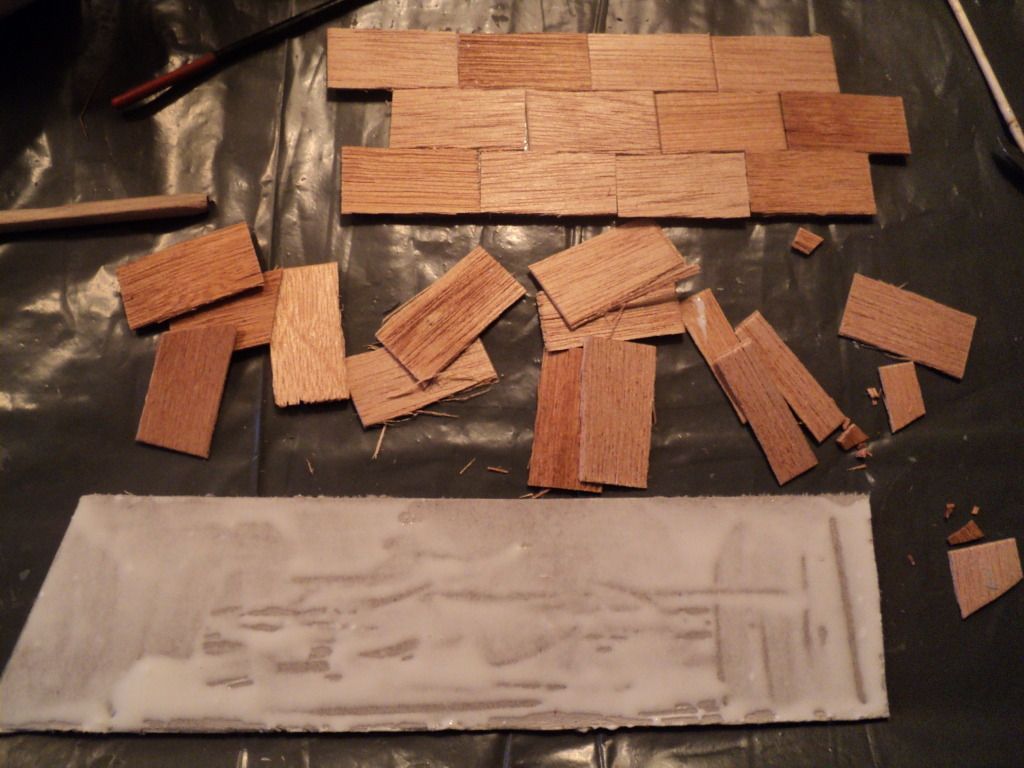
Because I was going to use this project as a photobox I didn't want a roof on it. Instead I cut out a strip of cardboard and found some cheap thin wood I had lying around. I cut rectangles out of the wood and glued that on the cardboard. After drying I painted the rooftiles grey and glued the cardboard on top of the walls.


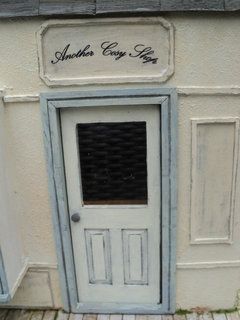
I made a decal with the name of the shop and pasted that above the front door.


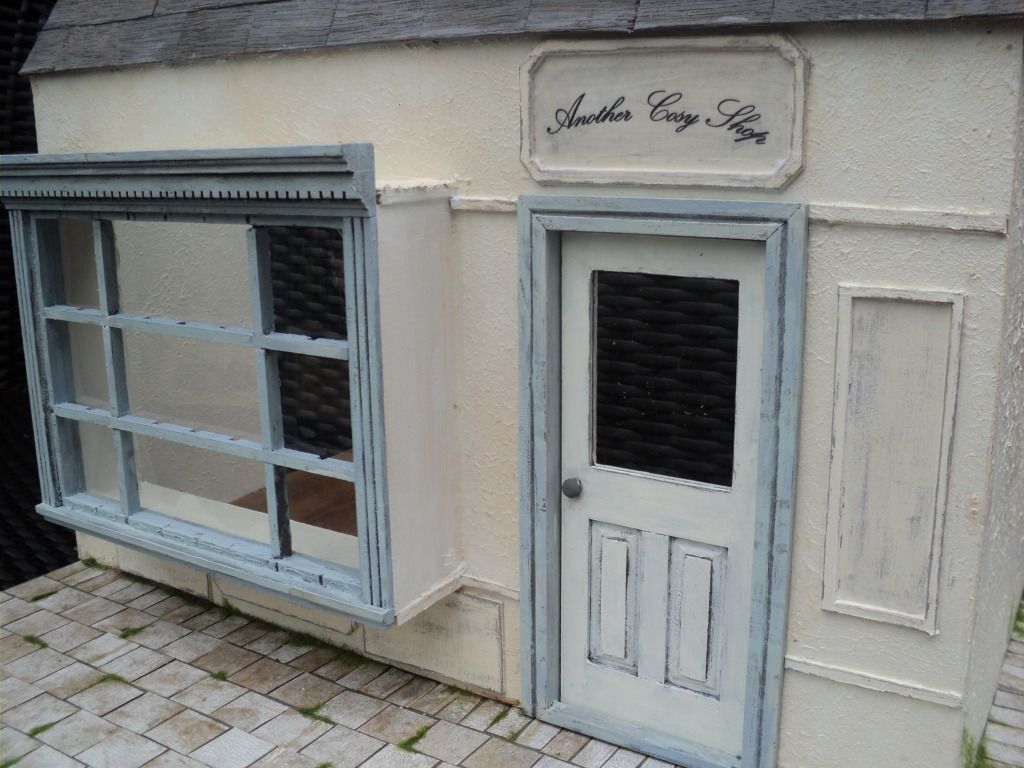
And here it is...my new photobox!


The whole project only took 3 days and I'm so pleased with the result. I can't wait to fill it up and start making pictures again.
Have a great day!
Peggy


dinsdag 3 april 2012

Having a shop-day

Usually when I have a shop-day I shop...till I nearly drop. But nowadays I reserve time to fill my webshop. I start with gathering the miniatures I made and checking them a few times if they're good enough to sell. I'm such a perfectionist and I only want to sell something I'd really like to buy myself. Hubby tells me I shouldn't be so fussy and that not everyone shares my personal taste but I just can't help myself.


Next step is to photograph the items and off I go with my camera, looking for the best daylight and with my photoboxes under my arm. I arrange the miniatures and try to take pictures... a lot of pictures. After that I choose the most clear and truthful ones to put in the shop.
By the time I finally sit behind my pc to upload the items in the shop half of the day has suddenly vanished. Ehm...maybe hubby is right?

But when I'm finally done it's such a satisfying feeling. Yes! I did it!


Feel like taking a more detailed look around? Visit http://www.anothercosyshop.nl where you can see the pricing and way to purchase. I'll have virtual coffee waiting for you!


zondag 1 april 2012

Tutorial Spring Butterfly Lantern


What should I call this thingy I made; 'birdhouse with butterfly', 'butterfly house', 'hanging spring ornament' or maybe 'paper latern shaped like a birdhouse and with a butterfly stuck in the middle' (hmmm...accurate but kinda long)??? Oh well, the name doesn't really matter now does it? Here I have a tutorial for you; real easy to make, with materials  everyone has laying around and done in no time. As you can see I'm still celebrating my favorite season of all: SPRING!!

Materials needed:
Pretty paper
Scissors
Pencil
Glue (gluestick for paper)
Paper punch (heart shape)
Paper punch (butterfly shape)
Embroidery thread
Tiny bead
yes...
that's all!

Don't despair if you don't have the paper punches I've used. Any shape would really do, just keep the measurements in mind.

Step 1: Making a template
Take a small piece of cardboard (a square 4 cm is more then enough) and fold this in half. Draw half of a house on the cardboard and cut the shape you've drawn out. By the way...this is the perfect method to create identical sides to any shape you want to draw.
Check to see if the shape of the house you've obtained is to your liking.

Step 2: Making the walls
Cut out a strip of pretty paper (4 cm - 18 cm) and fold in half. Using the template draw the househalf 6 times and cut out.


Take the paper punch and punch out the hearts. To be able to punch exaclty in the middle first unfold the piece of paper and use the folding line as a guide. Turn your punch upside down and see if the folding line is in the middle of your punch.


Step 3: Glue together
Glue the folded pieces one on top of the other, don't glue the whole house together just yet. Leave the last two sides open. Leave to dry.


Step 4: Finishing touches
Color the cut edges with color pen or ink. I've used distress ink on mine.

Find your embroidery thread, a tiny bead and two tiny punches (I've used two butterflies)

Cut 16 cm of the embroidery thread and fold in half, tie a knot to leave a loop from which the house can be hung. Place a tiny bead unto the thread, underneath the knot.
Fold the house open and place the thread in the middle. Take two buttefly punches and determine the correct place on the thread to glue them. Glue the two butterflies on top of one another. Glue the remaining sides of the house together.

Done!!!

I hope you enjoy this tutorial.